개발환경
MacOS Big Sur 11.2.3
Xcode version 12.5
iOS로 FCM 푸싱 알림을 하기 위해서는 CocoaPods을 설치해야 합니다.
CocoaPods 설치가 아직이라면 아래 링크를 참고 부탁드립니다.
https://like-a-drizzle.tistory.com/123?category=868711
07. [iOS/Swift] CocoaPods과 Pod install 방법
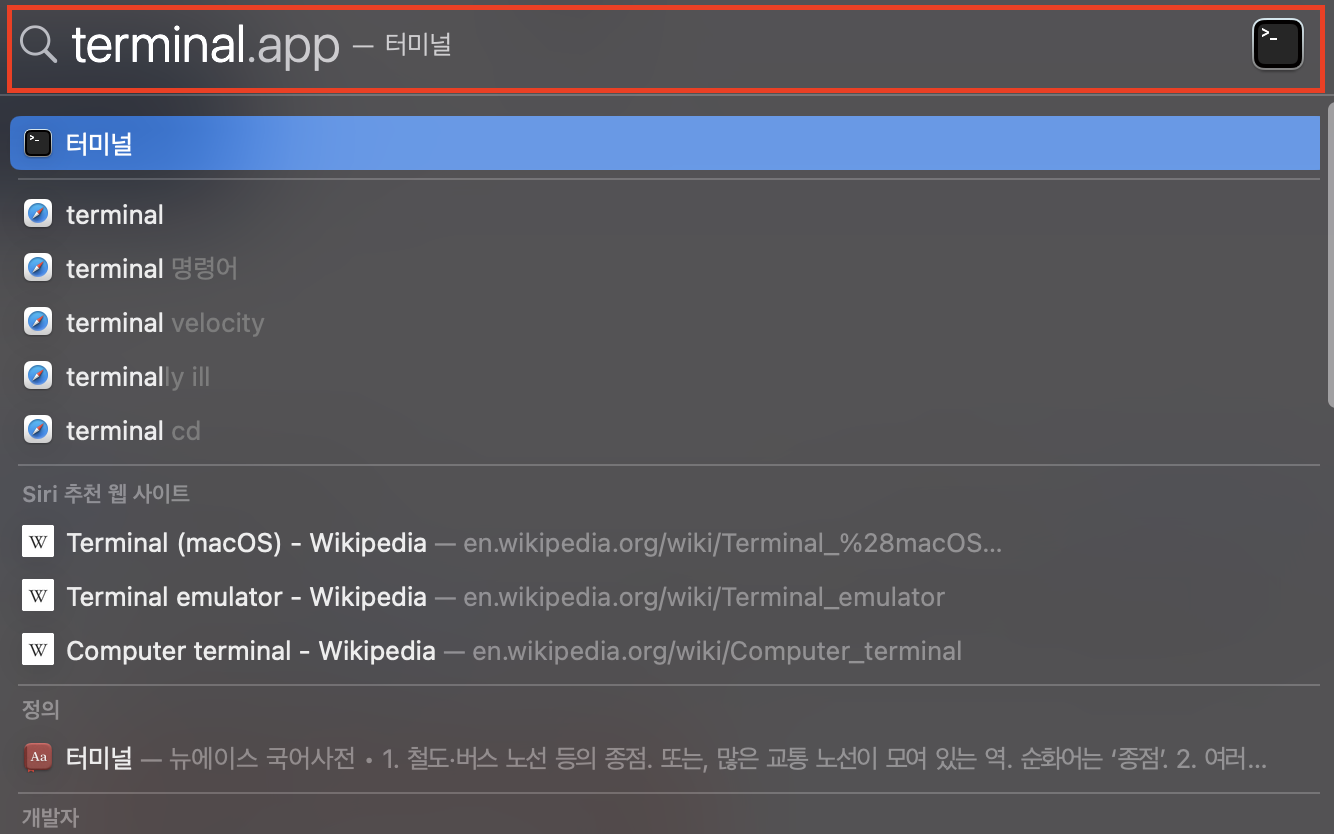
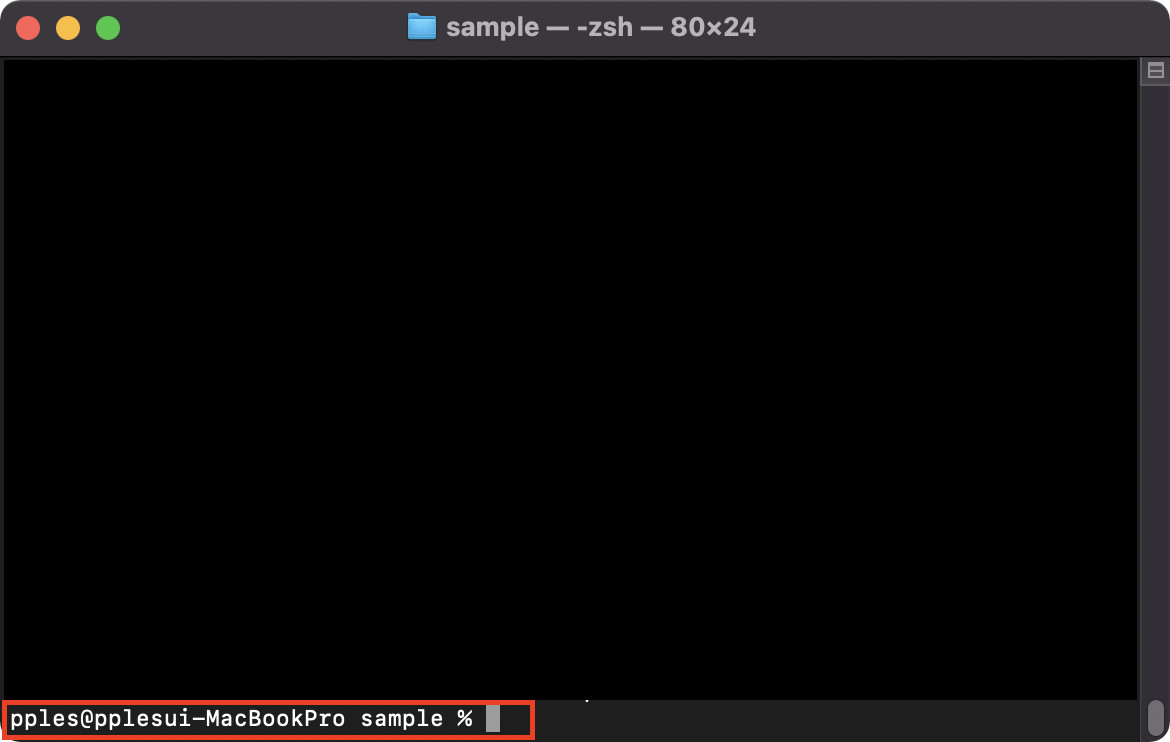
CocoaPods 이란? CocoaPods는 Swift 및 Objective-C Cocoa 프로젝트의 종속성 관리자이다. 프로젝트에 필요한 라이브러리를 CocoaPod을 통해 쉽게 관리하고 사용할 수 있다. CocoaPods 설치 맥에서 터미널을 실행.
like-a-drizzle.tistory.com
1. Apple Developer Setting
CocoaPods 설치가 끝났으면 애플 개발자로 접속합니다.
Apple Developer
There’s never been a better time to develop for Apple platforms.
developer.apple.com
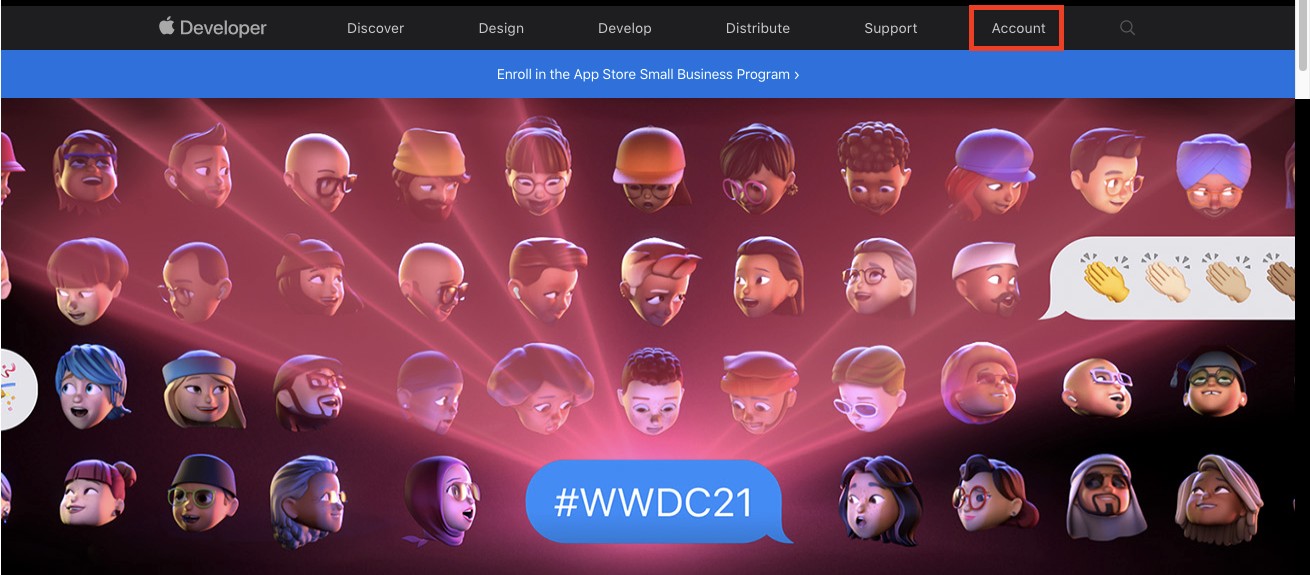
Acoount 탭을 클릭합니다.
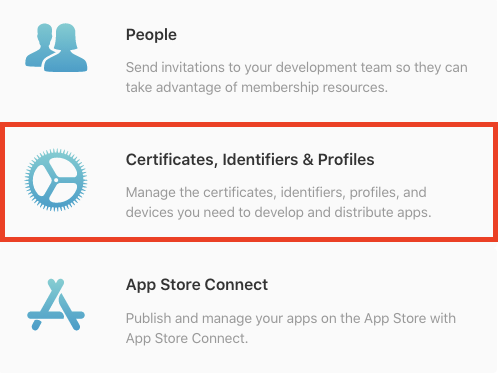
Cretificates, Identifiers & Profiles를 클릭합니다.
혹시 한글로 표시된다면 톱니바퀴 모양의 아이콘을 기억하고 있다가 선택합니다.
왼쪽 카테고리에서 Keys를 클릭합니다.
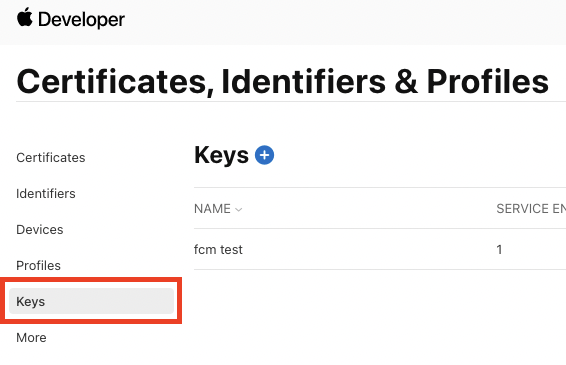
Keys+ 를 선택합니다.

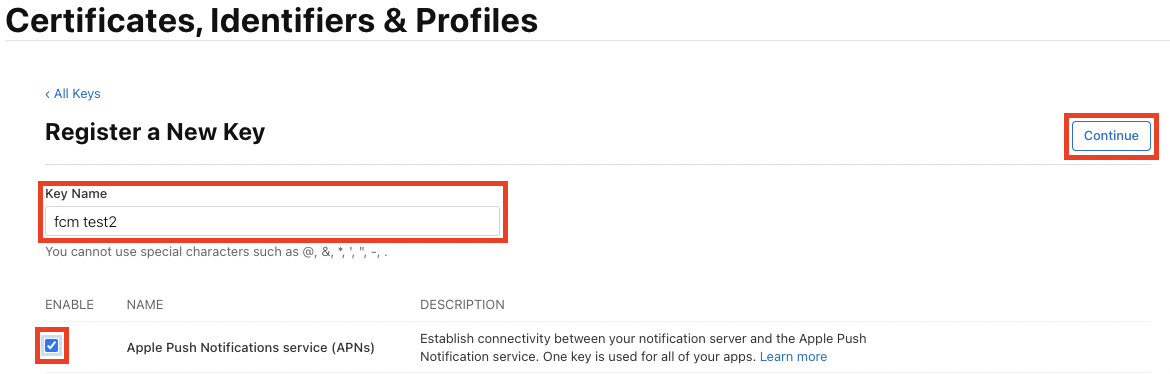
Key Name을 작성하고 / Apple Push Notifications service(APNs)를 클릭합니다.
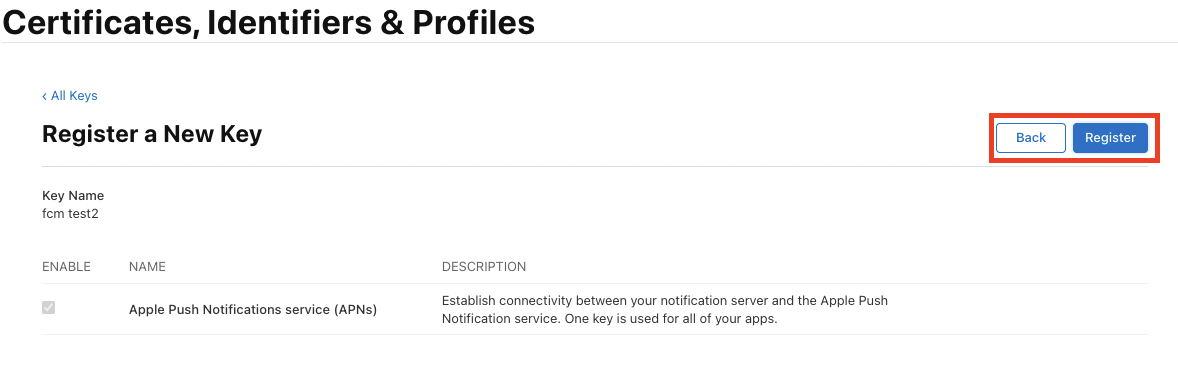
전부 완료했다면 Continue를 클릭합니다.
Contunue를 클릭하면 확인 페이지로 이동하는데 작성한 내용이 맞으면 Register를 잘못되어있다면 Back버튼을 클릭하여 내용을 수정한다.
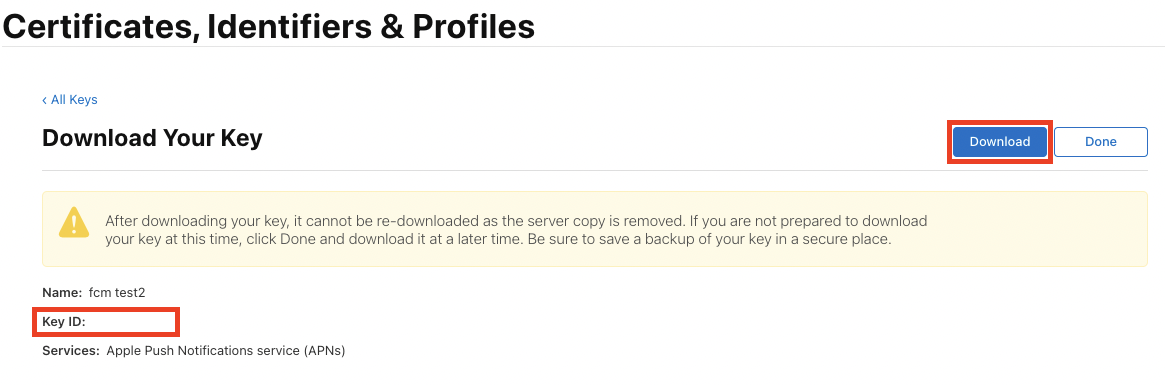
Key ID는 메모해두는 것이 좋습니다.
화면 오른쪽 다운로드 버튼을 클릭하여 p8파일을 다운로드합니다.
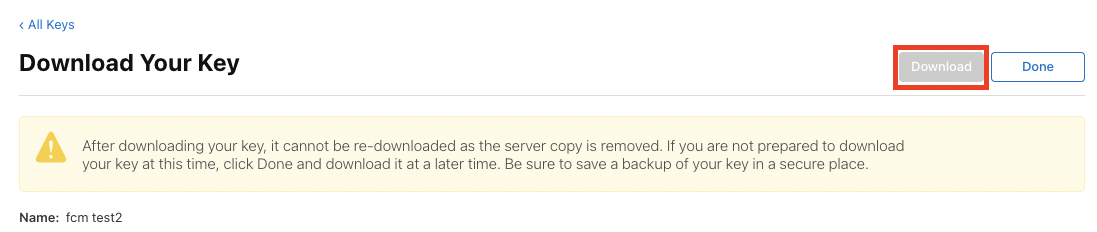
다운로드는 한 번만 가능하니까 다운로드한 파일은 잘 보관하도록 합니다.
한번 키를 다운로드하면 아래 이미지같이 버튼의 비활성화됩니다.
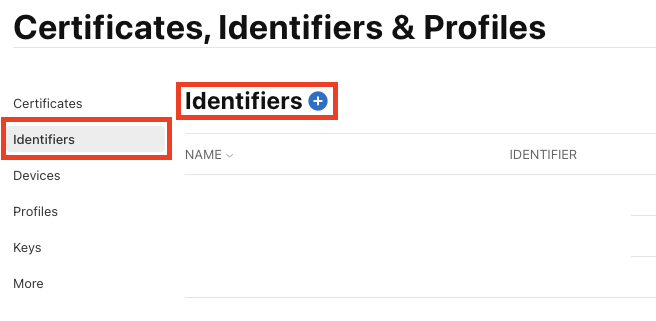
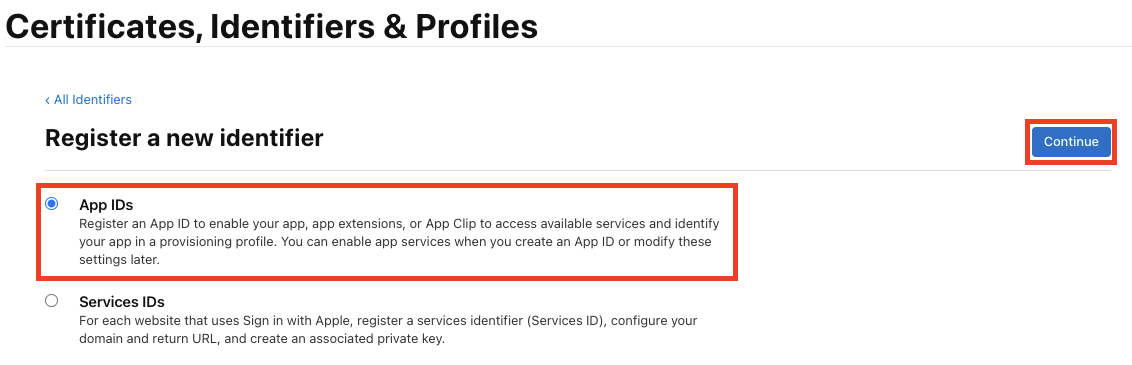
왼쪽 메뉴 > Identifiers > Identifiers+ 클릭
App IDs > Continue
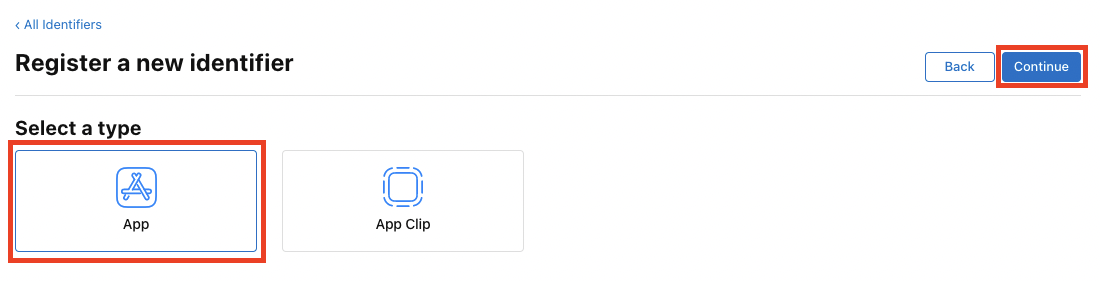
App > Continue
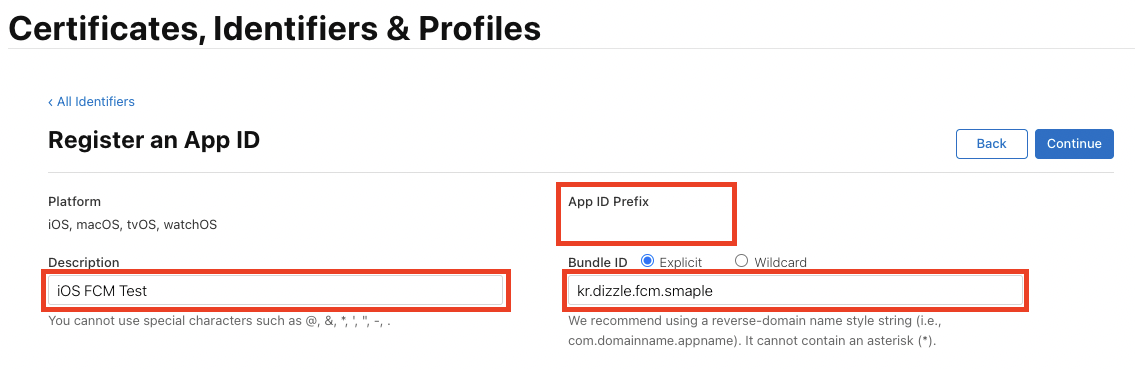
왼쪽에는 구분 이름을 지어줍니다. (Description : 설명)
오른쪽에는 번들 아이디를 적습니다.
Description과 Bundle ID는 대충 작성하겠습니다.
Bundle ID 위에 App ID Prefix라고 있는데 여기에 Team ID를 메모해둡니다.
Push Notifications를 체크 > Continue
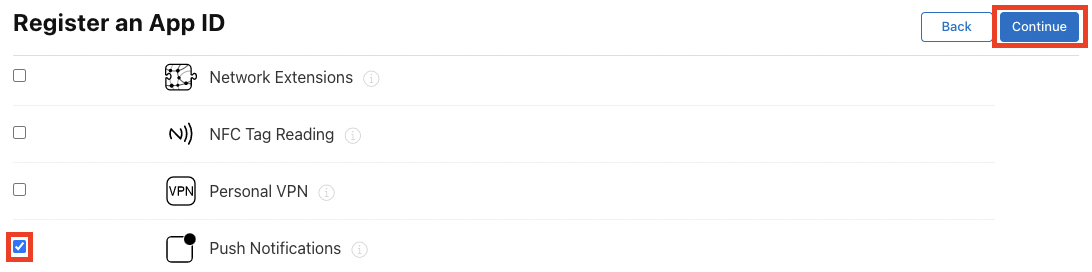
Register 클릭

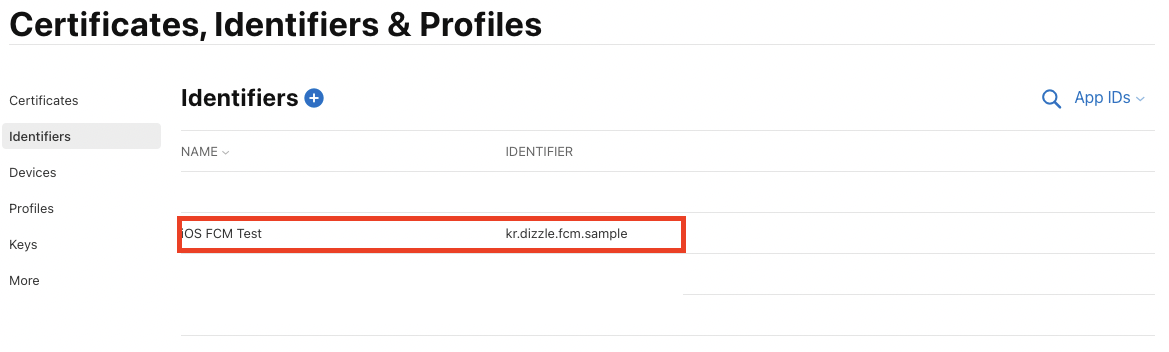
Register > Identifiers로 오면 추가된 것을 확인할 수 있습니다.
2. Firebase Setting
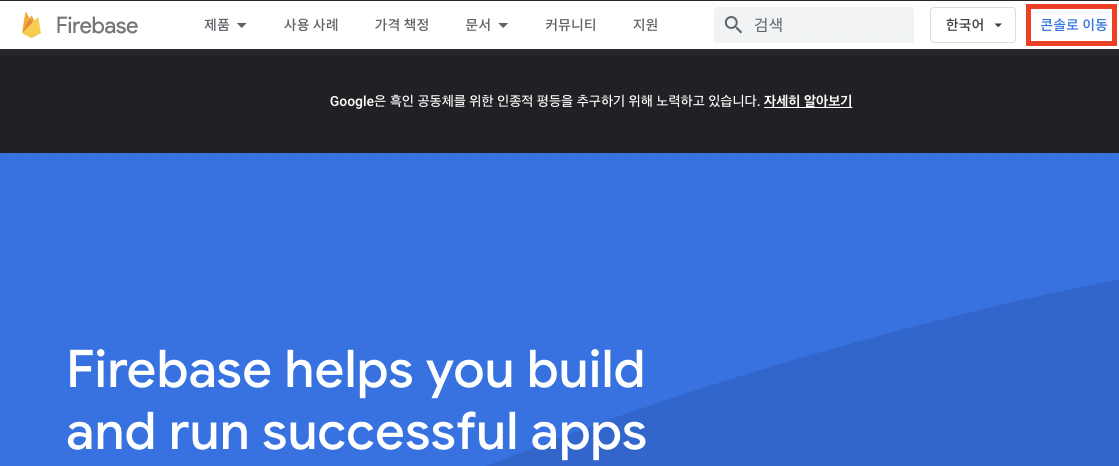
Firebase
Firebase는 고품질 앱을 빠르게 개발하고 비즈니스를 성장시키는 데 도움이 되는 Google의 모바일 플랫폼입니다.
firebase.google.com
Firebase site 이동 > 콘솔로 이동 클릭
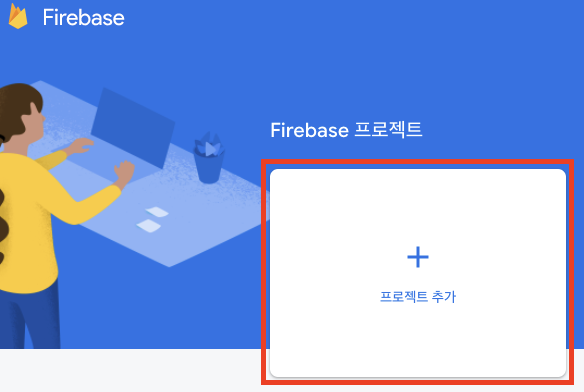
프로젝트 추가 클릭 > 프로젝트 이름 작성 > 계속

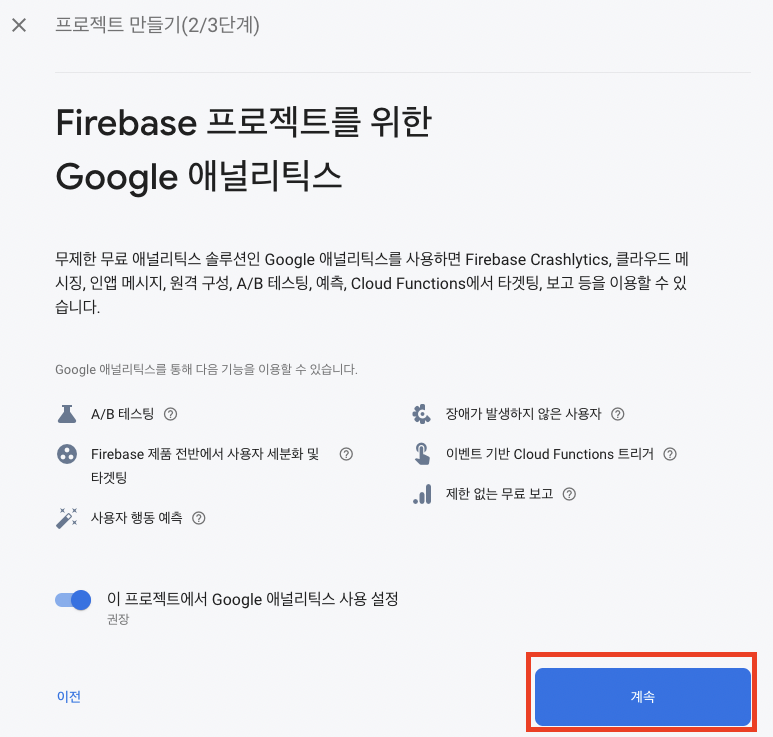
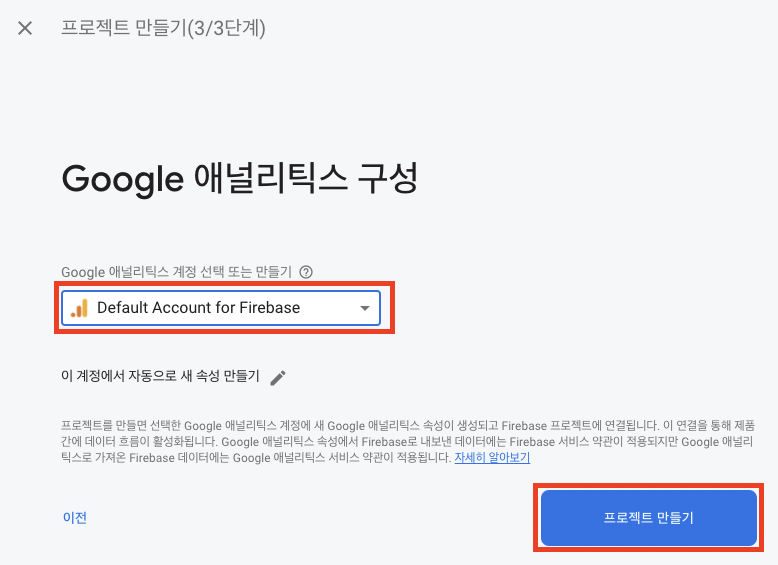
계속 > Default Account for Firebase 선택 > 프로젝트 만들기 클릭
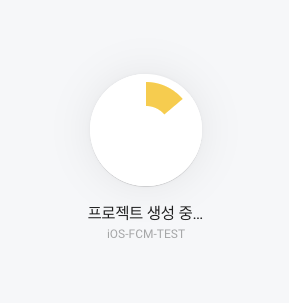
프로젝트 생성중...

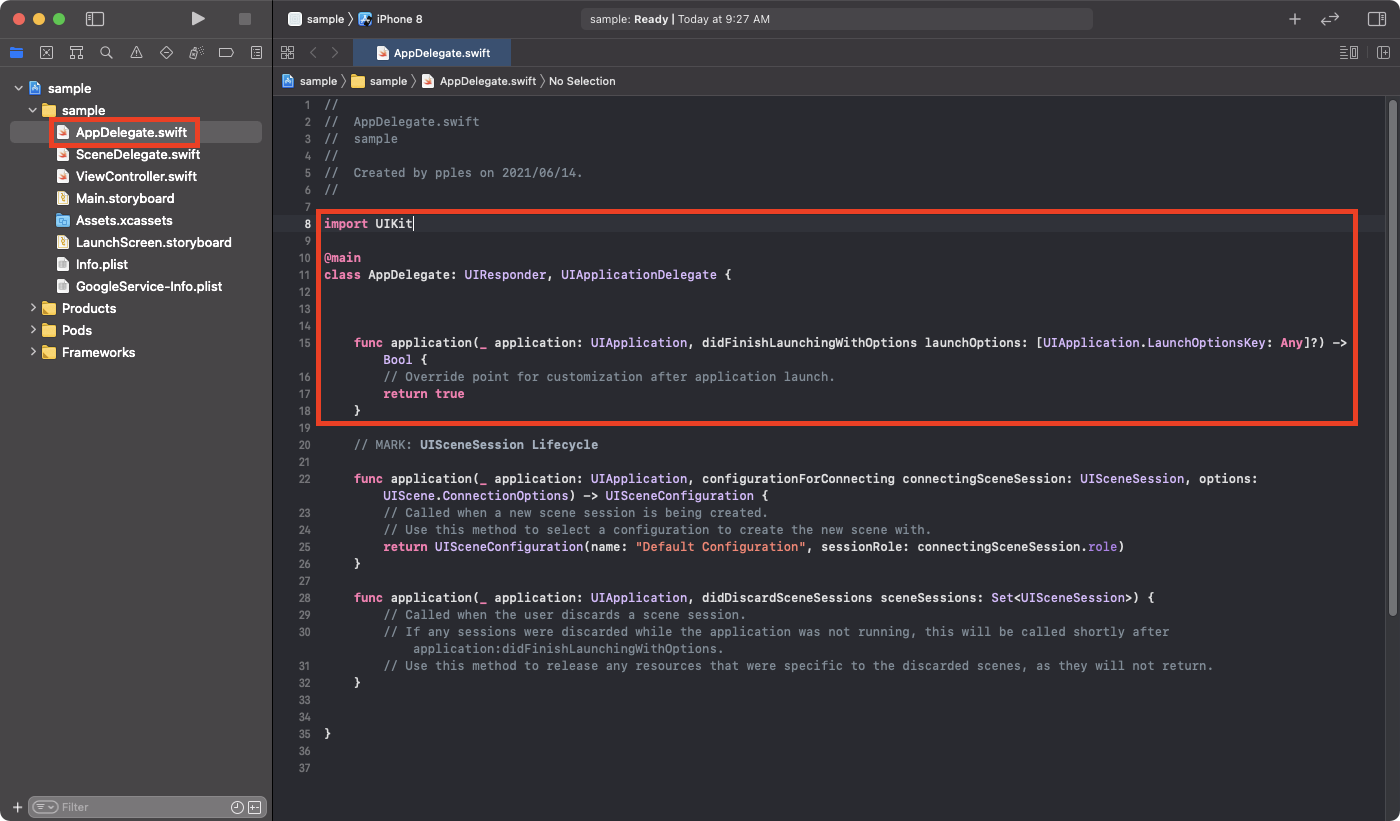
3. Xcode Setting
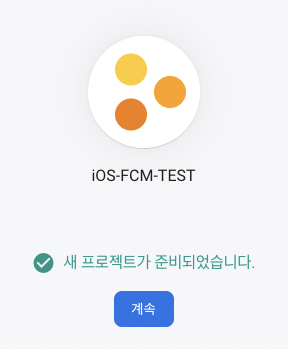
Firebase의 프로젝트가 생성되었다면 Xcode를 실행합니다.
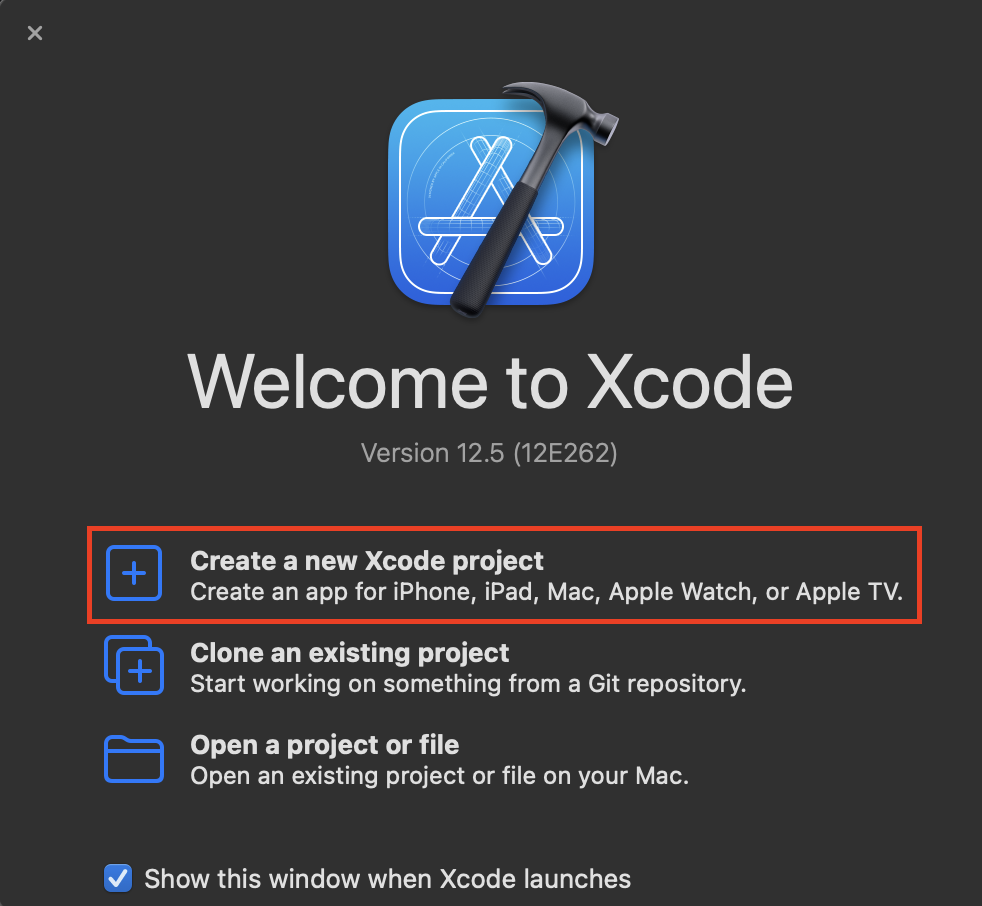
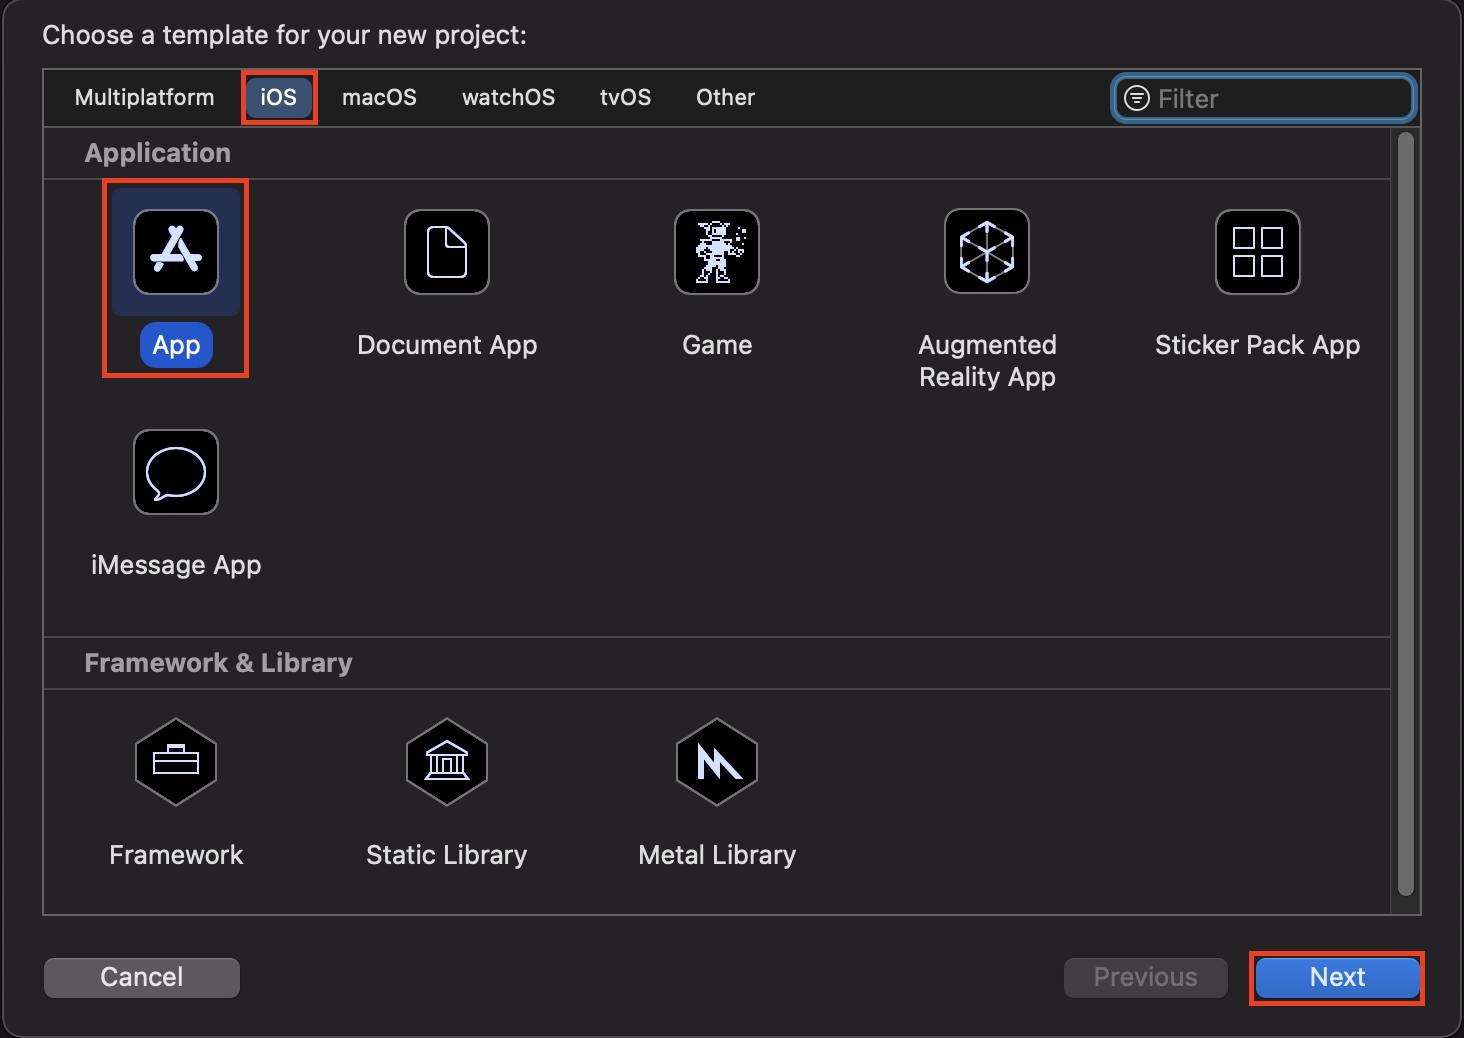
Create a new Xcode project 클릭 > iOS > App > Next
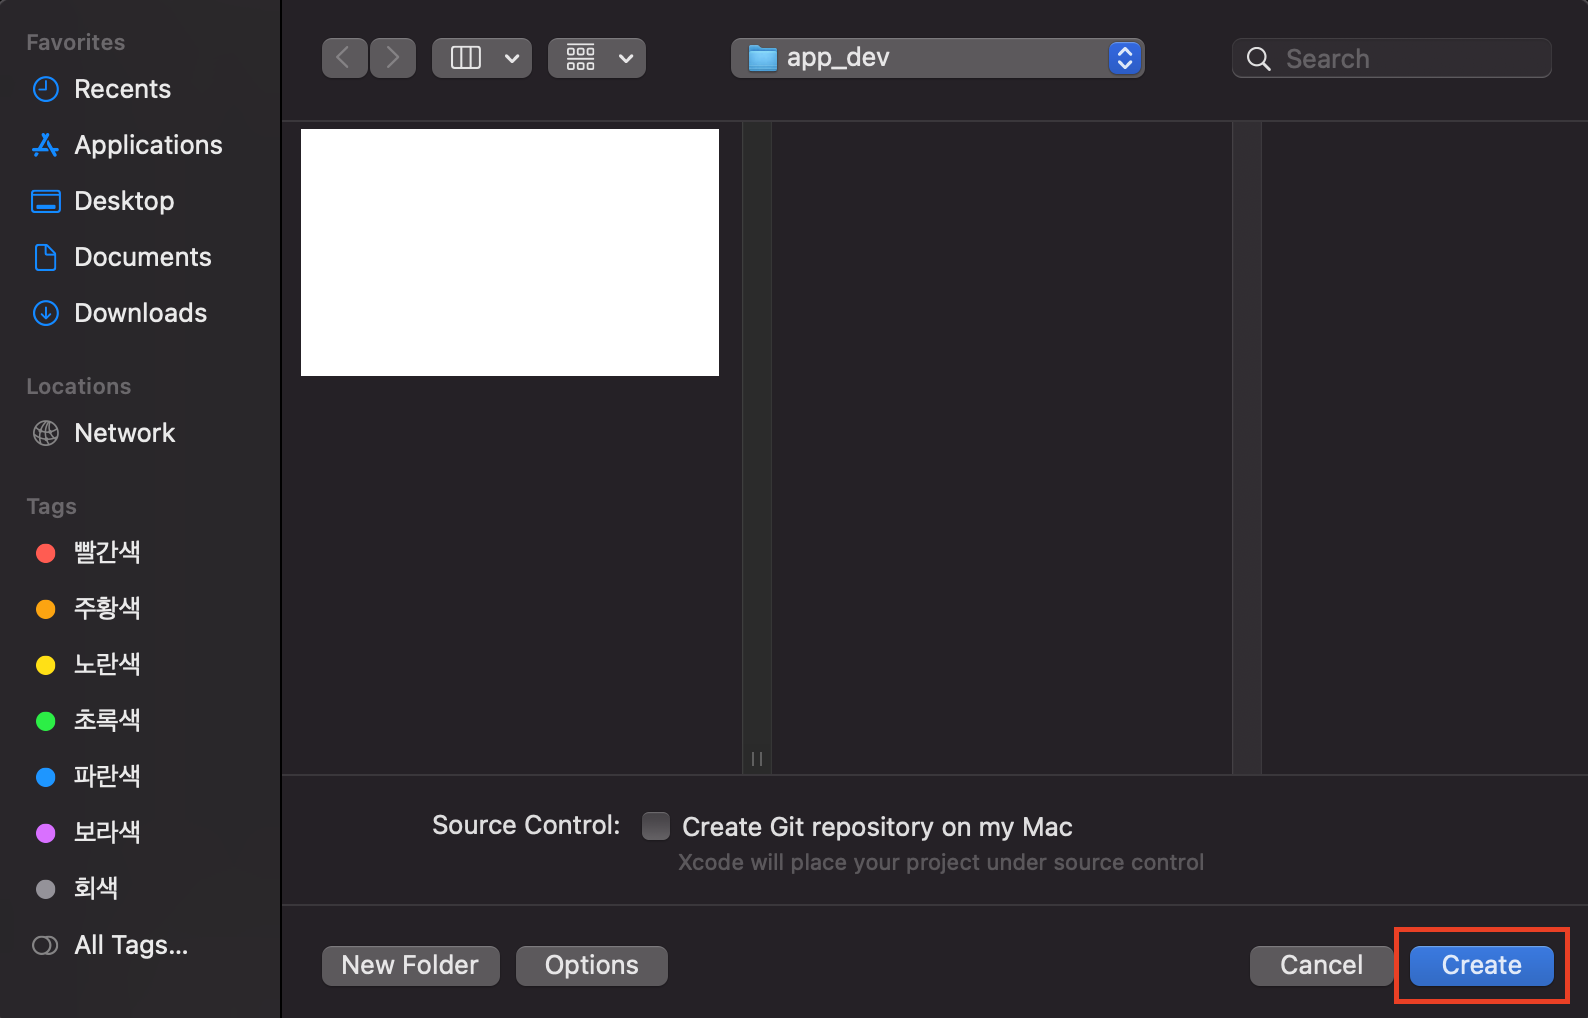
Product Name, Organization Identifier 작성 > Next > Create 클릭

4. Firebase & Xcode 연동
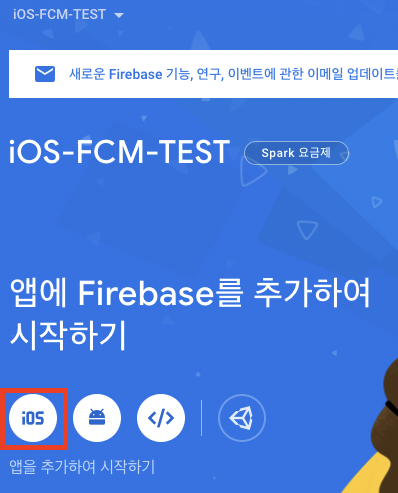
Xcode에서 프로젝트를 생성했다면 Firebase console창으로 돌아갑니다.
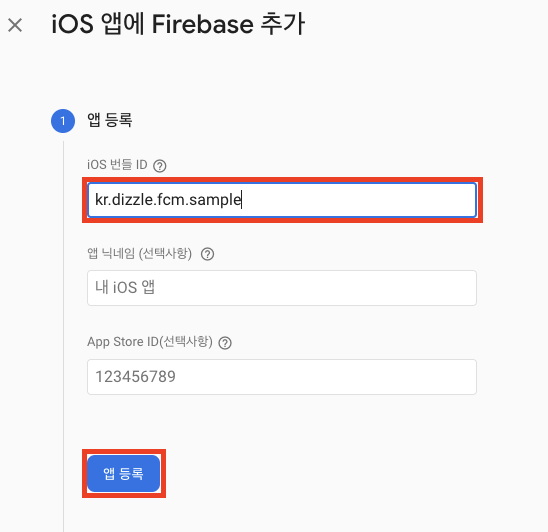
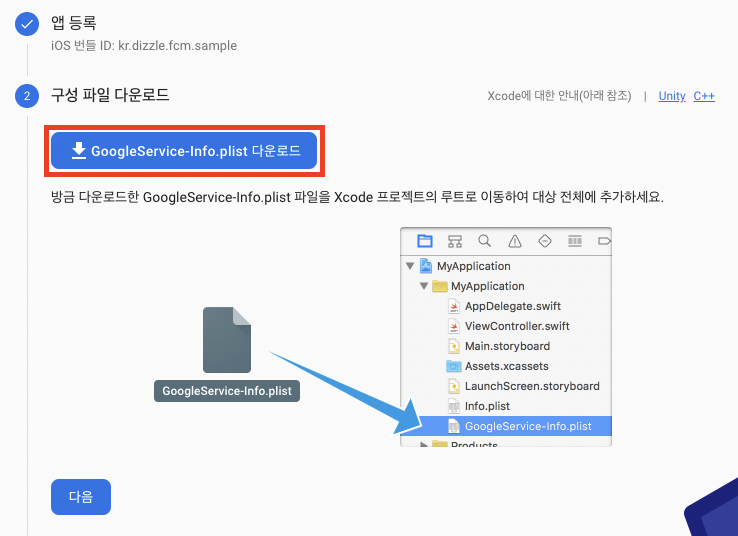
iOS 아이콘 클릭 > iOS 번들 ID 입력 > 앱 등록
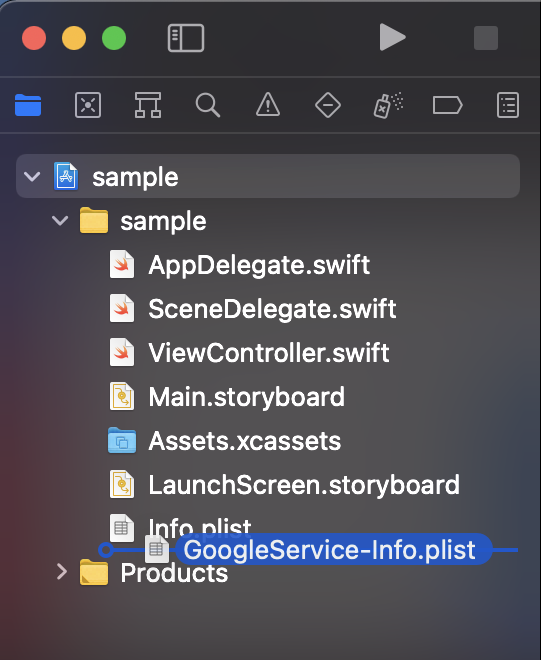
GoogleService-Info.plist 다운로드 > 프로젝트 루트에 추가(다운로드 폴더에서 프로젝트로 드래그하면 됩니다.)
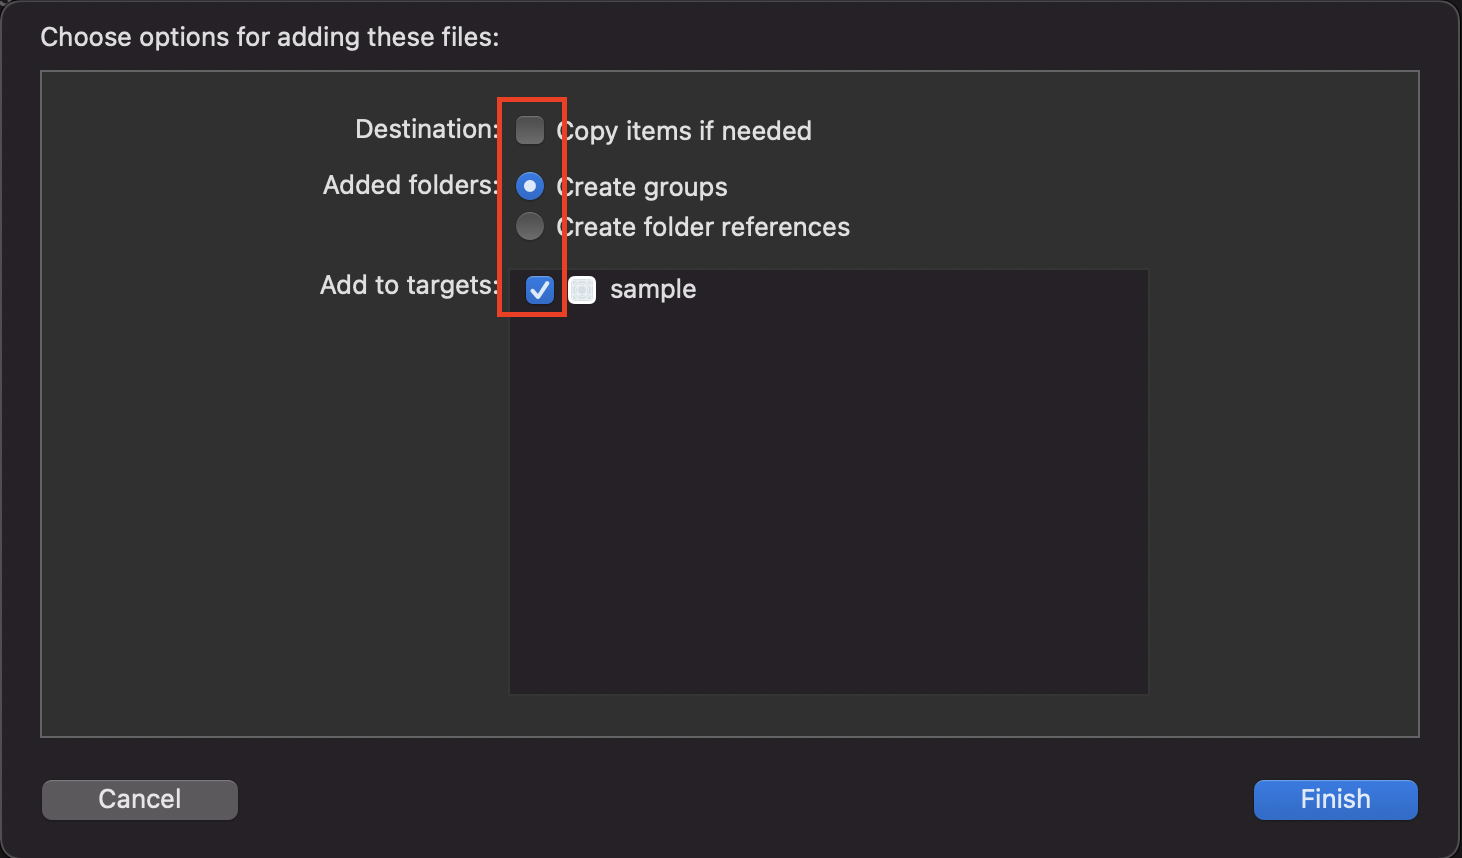
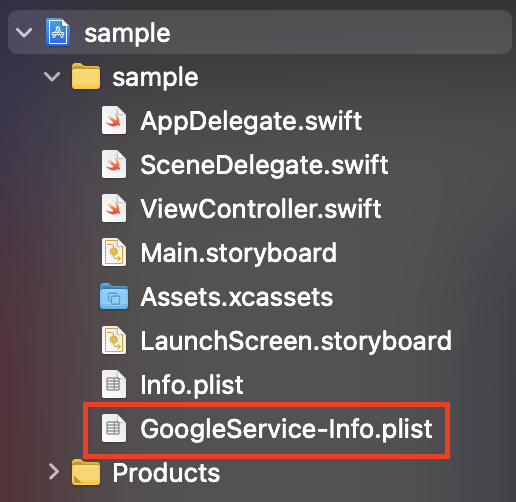
Create groups 체크 > sample 체크 > Finish > 파일이 추가된 것을 확인
Firebase SDK 추가
터미널 > 프로젝트 폴더로 이동 > pod init 명령어 실행
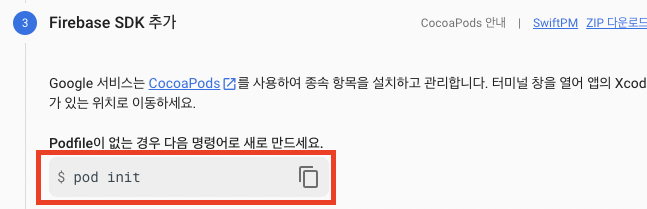
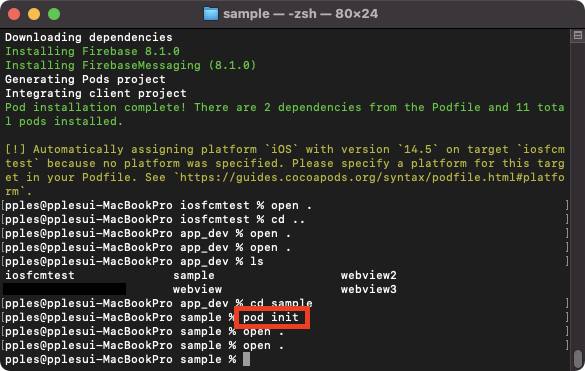
Podfile이 생성됨
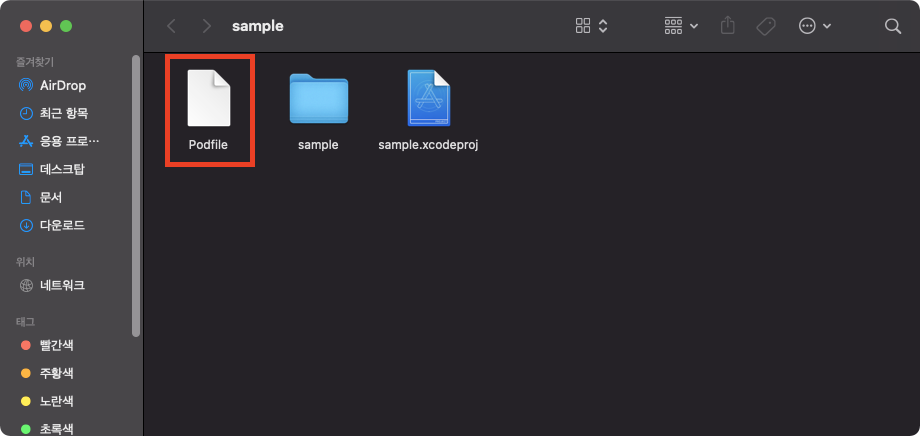
Podfile에 아래 코드 추가
pod 'Firebase/Analytics'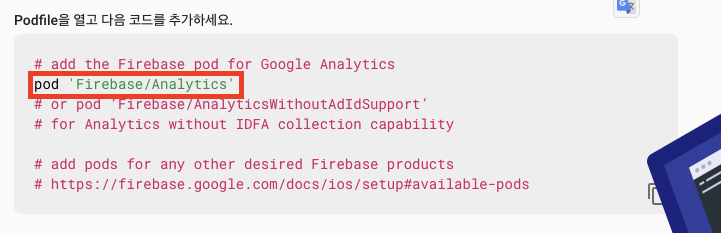


파일을 저장하고 아래 명령어를 실행
$ pod installM1칩셋을 사용하고 있는 mac os에서 pod install 명령어로 에러 발생 시 아래 링크를 참고 부탁드립니다.
https://like-a-drizzle.tistory.com/124
08. [iOS/Swift] M1 MacBook에서 Pod install 시 에러가 발생하는 경우
방법 1 1. Finder > 응용 프로그램 > 유틸리티 > 터미널 > 정보 가져오기를 선택한다. 2. 터미널 정보창에서 Rosetta를 사용하여 열기를 체크하고 터미널을 실행시킨다. 3. 터미널에서 아래 명령어를 입
like-a-drizzle.tistory.com
저는 M1칩셋을 사용하고 있으므로 아래 명령어를 입력했습니다.
$ arch -x86_64 pod install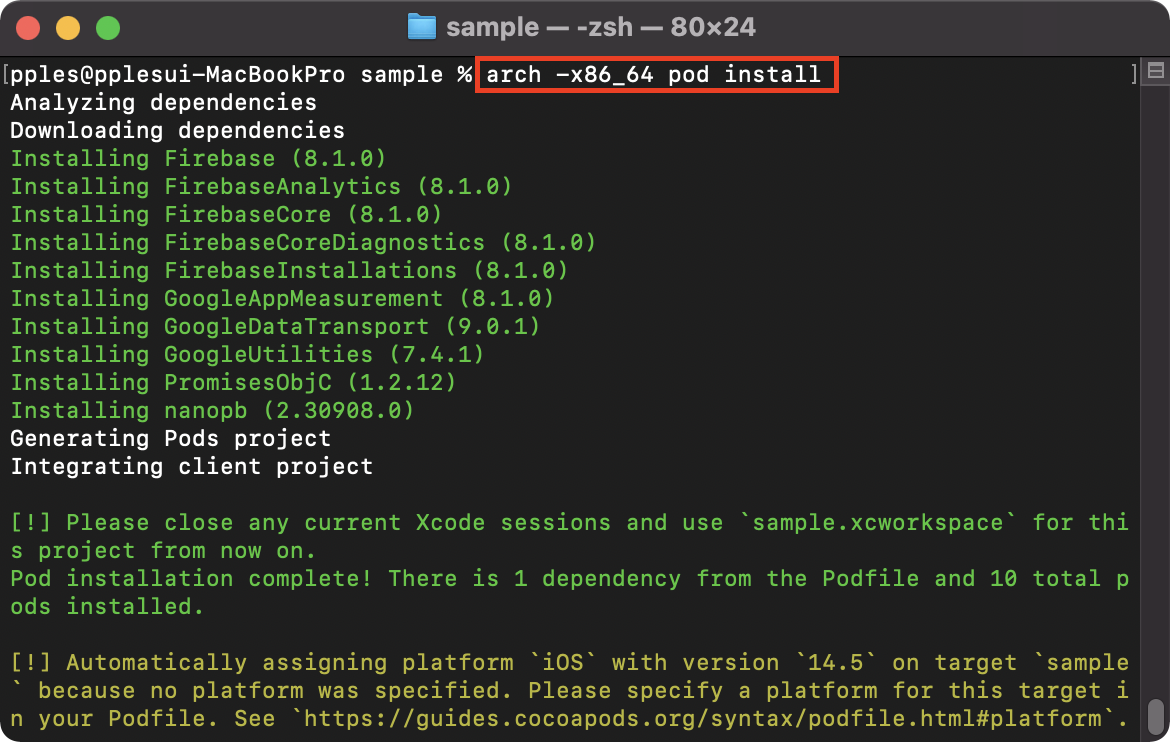
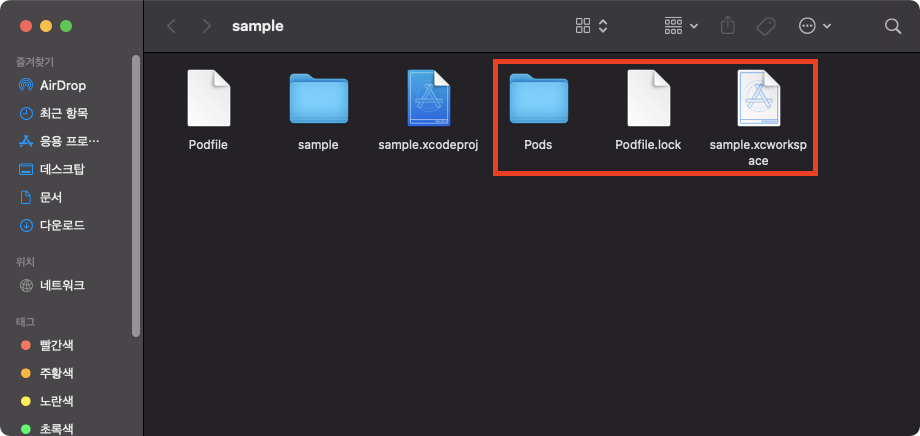
명령어를 입력하면 Pods폴더, Podfile.lock, smaple.xcworkspace 파일이 추가됩니다.
여기서부터 작업은 .xcodeproj 가 아닌 .xcworkspace에서 작업하도록 합니다.
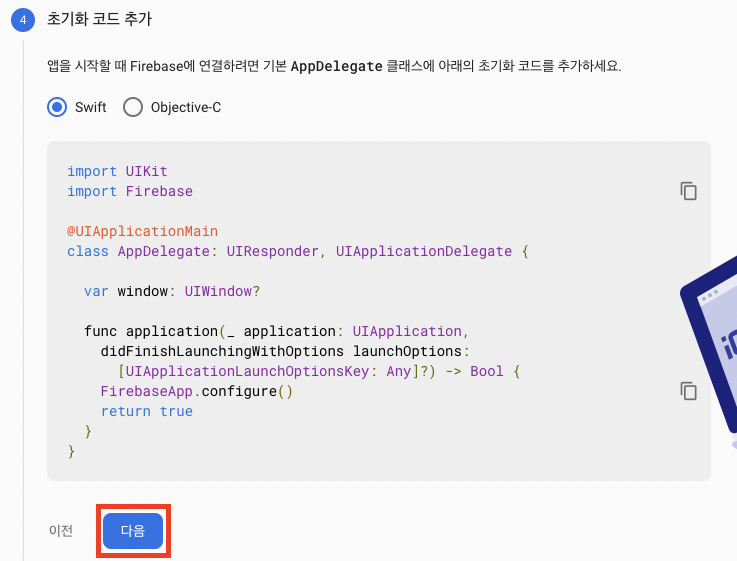
초기화 코드 추가
Xcode에서 프로젝트 생성할 때 선택한 언어에 맞게 Swift 혹은 Objective-C를 선택해서 해당 코드를 프로젝트 AppDelegate 클래스 아래에 초기화 코드를 추가합니다.
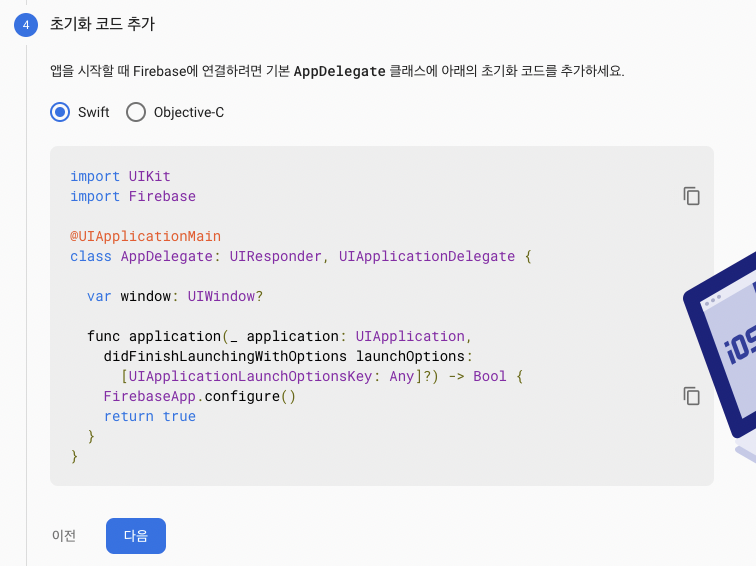
import UIKit
import Firebase

@UIApplicationMain
class AppDelegate: UIResponder, UIApplicationDelegate {

  var window: UIWindow?

  func application(_ application: UIApplication,
    didFinishLaunchingWithOptions launchOptions:
      [UIApplicationLaunchOptionsKey: Any]?) -> Bool {
    FirebaseApp.configure()
    return true
  }
}
코드 수정전
코드 수정후
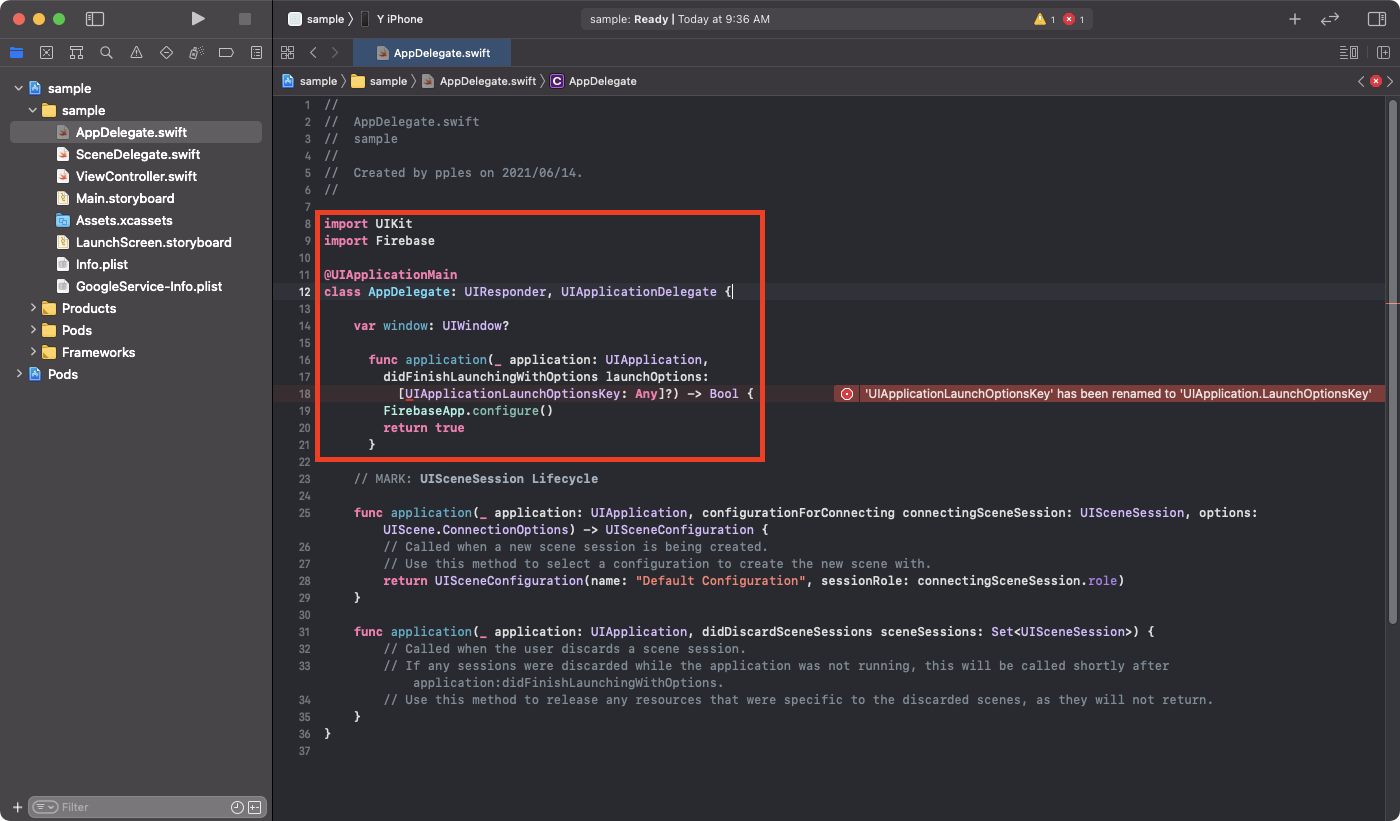
Firebase에서 제공한 가이드대로 복사&붙여 넣기 했음에도 에러가 발생했습니다.
Fix를 눌러 이름을 변경합니다.
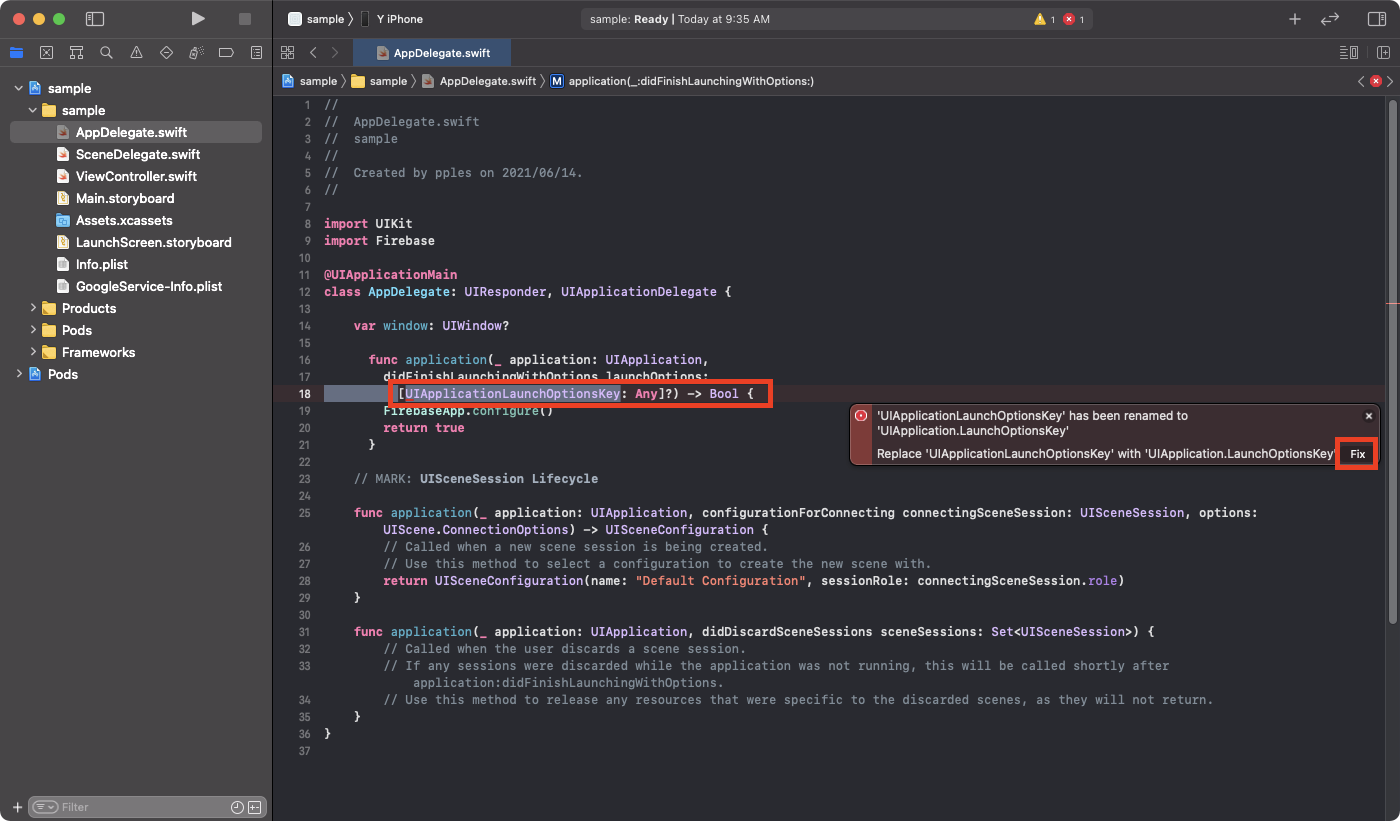
이름을 변경하면 에러가 사라집니다.

코드 추가를 완료했다면 다음을 누릅니다.
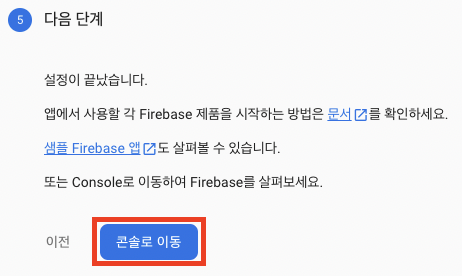
'콘솔로 이동'을 클릭합니다.
Firebase와 Xcode의 연동이 끝났으면 메시지를 수신할 준비를 합니다.
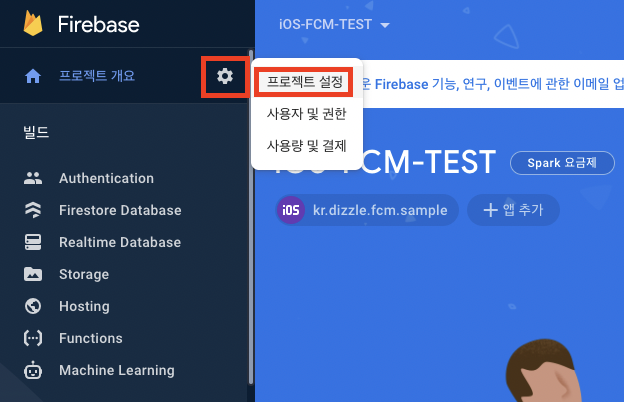
콘솔 > 프로젝트 개요 > 톱니바퀴 > 프로젝트 설정
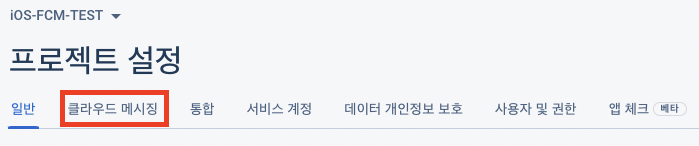
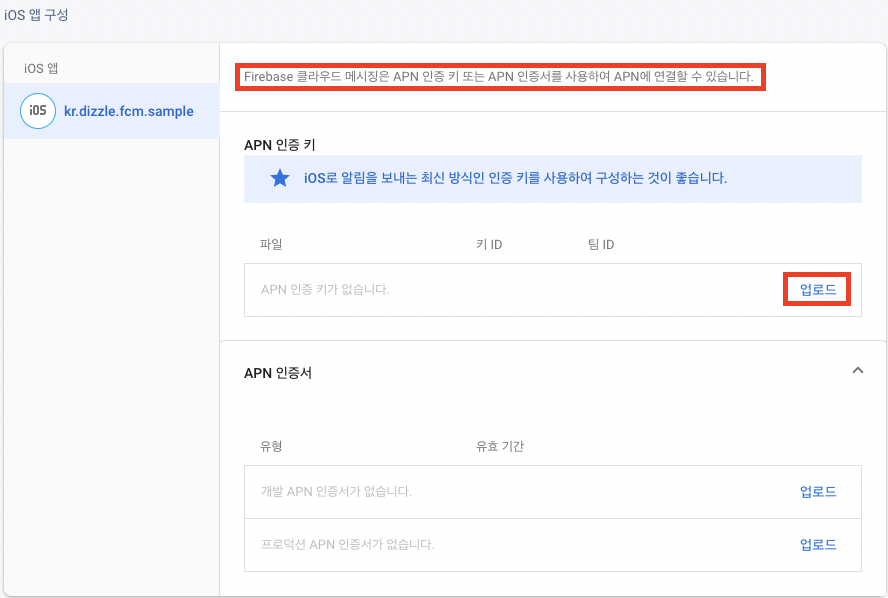
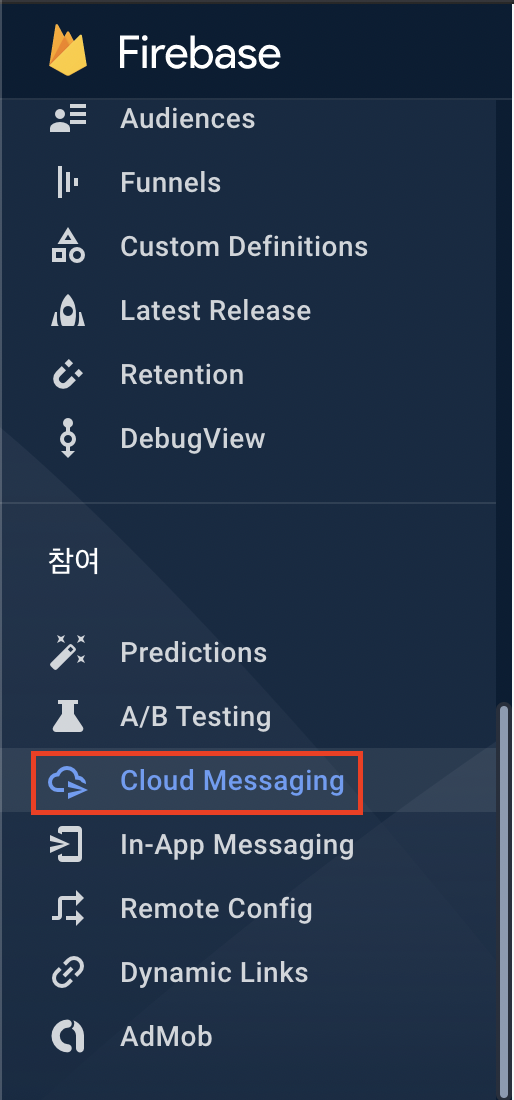
클라우드 메세징 클릭합니다.
Firebase 클라우드 메세징은 APN 인증 키 또는 APN 인증서를 사용하여 APN에 연결할 수 있습니다.
APN인증키, APN 인증서를 사용하여 APN에 연결해야 합니다.
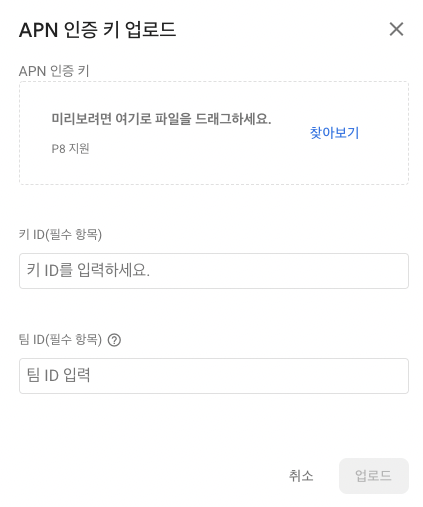
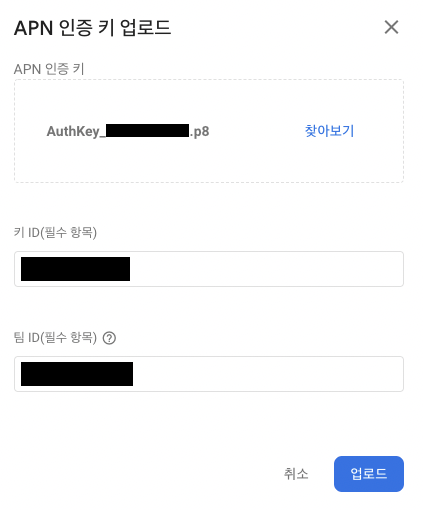
Apple Developer에서 만든 p8 파일을 업로드하고 키 ID, 팀 ID를 입력합니다.
전부 입력했다면 업로드 버튼을 클릭합니다.
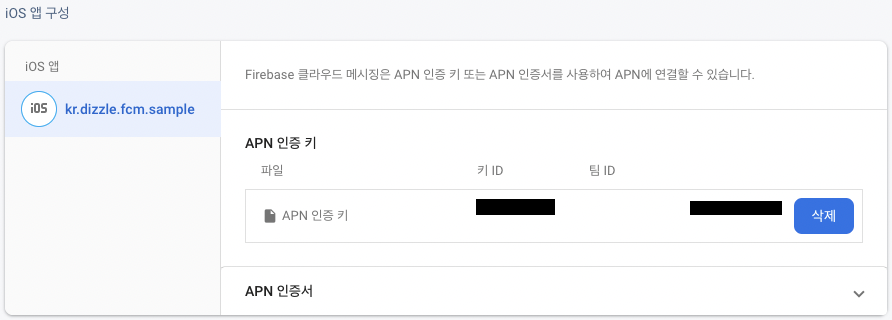
정상적으로 업로드되면 아래와 같은 화면으로 변경됩니다.
파일을 업로드했다면 Xcode로 돌아갑니다.
좌측에 sample > TARGETS > smaple > signing & Capabilities > + Capability 클릭
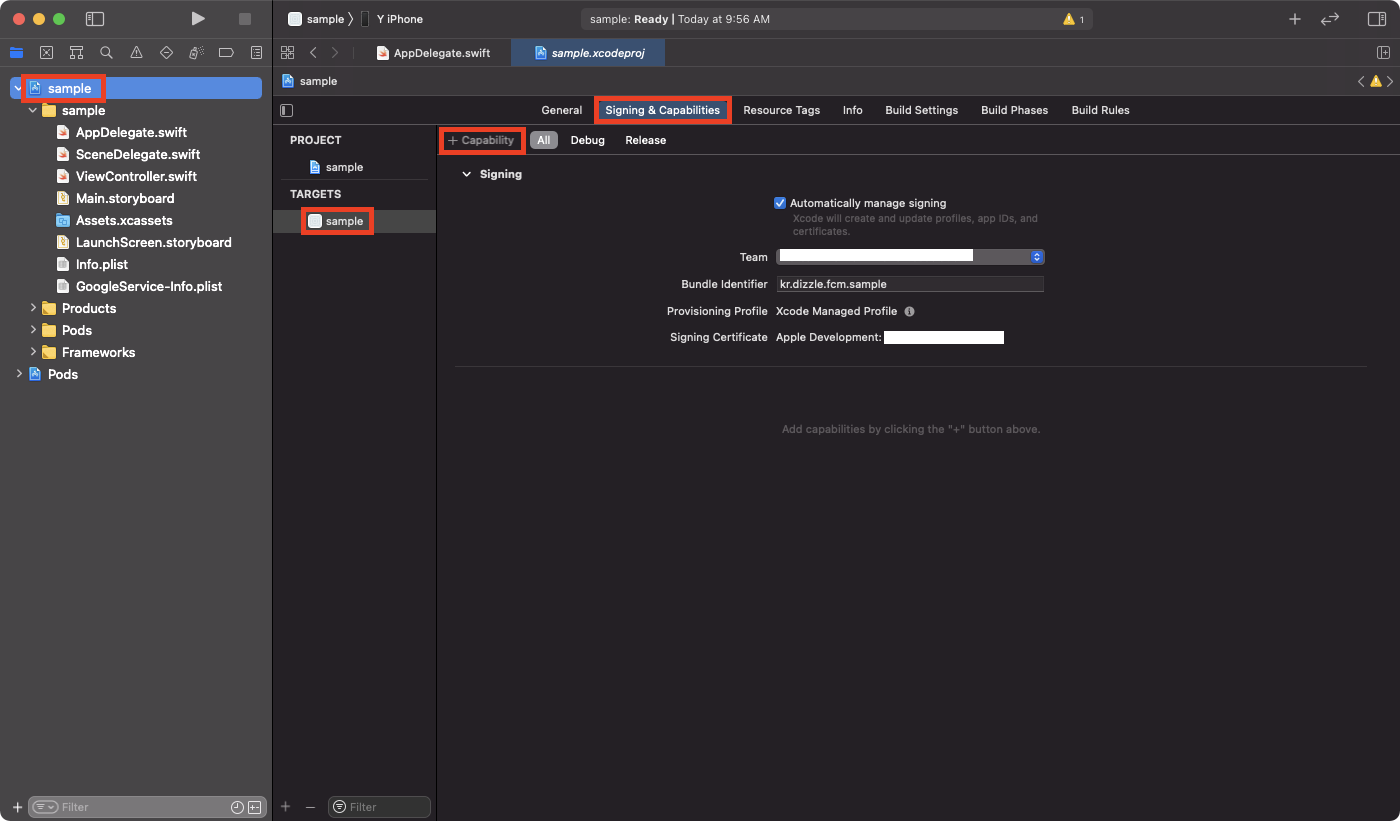
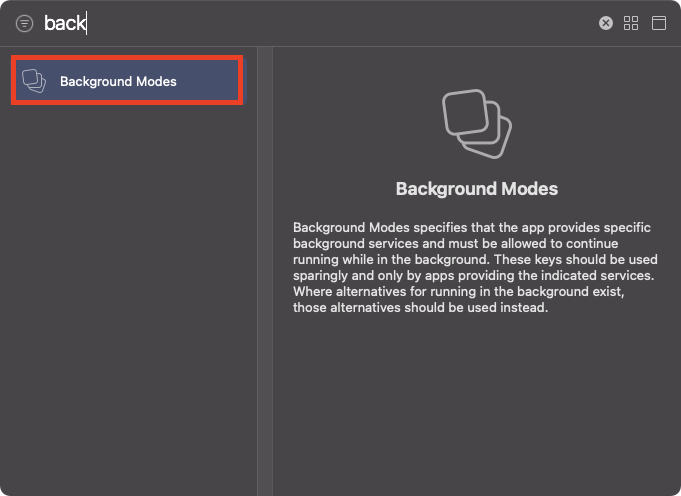
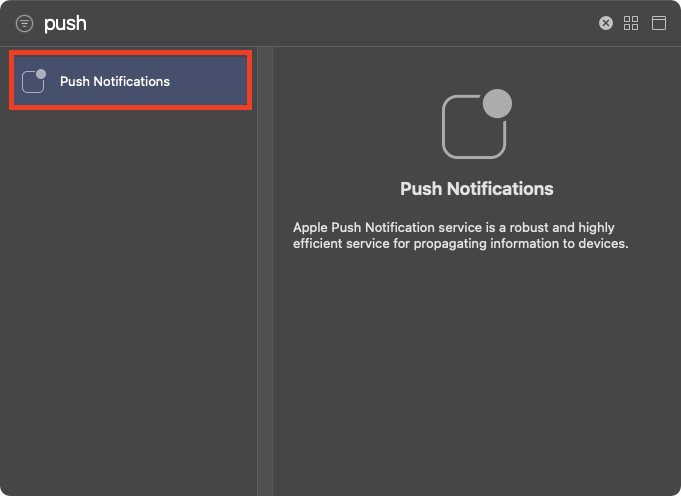
Background Modes, Push Notifications를 추가합니다.
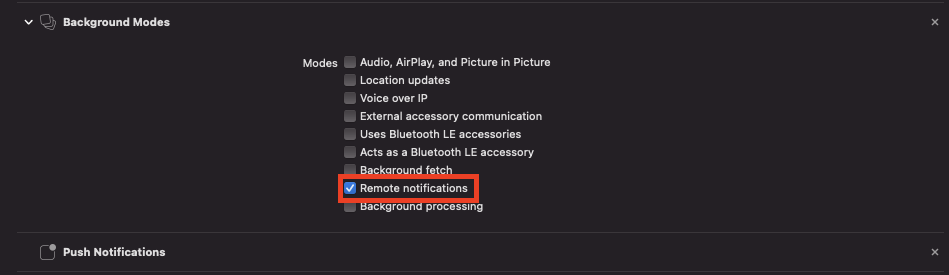
Remote notifications를 체크합니다.
Podfile을 엽니다.
아래 코드를 추가하고 pod install을 합니다.
pod 'Firebase/Messaging'
$ arch -x86_64 pod install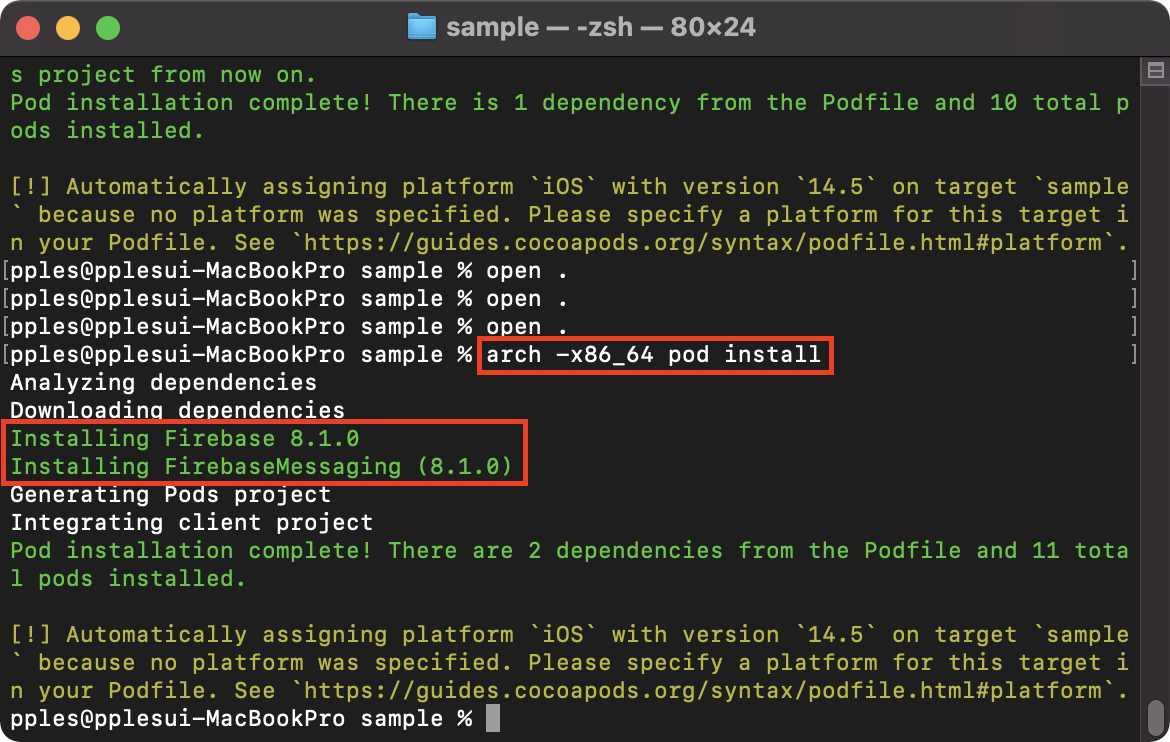
Xcode > AppDelegate.swift 열기 > 아래 코드 추가
import FirebaseMessaging
import UserNotifications
AppDelegate의 didFinishLaunchingWithOptions에 아래 코드를 삽입합니다.
(아래 코드를 삽입하면 에러가 발생합니다. 지금단계에서는 신경 쓰지 말고 아래 있는 코드를 계속해서 AppDelegate에 코드를 추가하면 됩니다.)
func application(_ application: UIApplication, didFinishLaunchingWithOptions launchOptions: [UIApplication.LaunchOptionsKey: Any]?) -> Bool {
FirebaseApp.configure()
Messaging.messaging().delegate = self
UNUserNotificationCenter.current().delegate = self
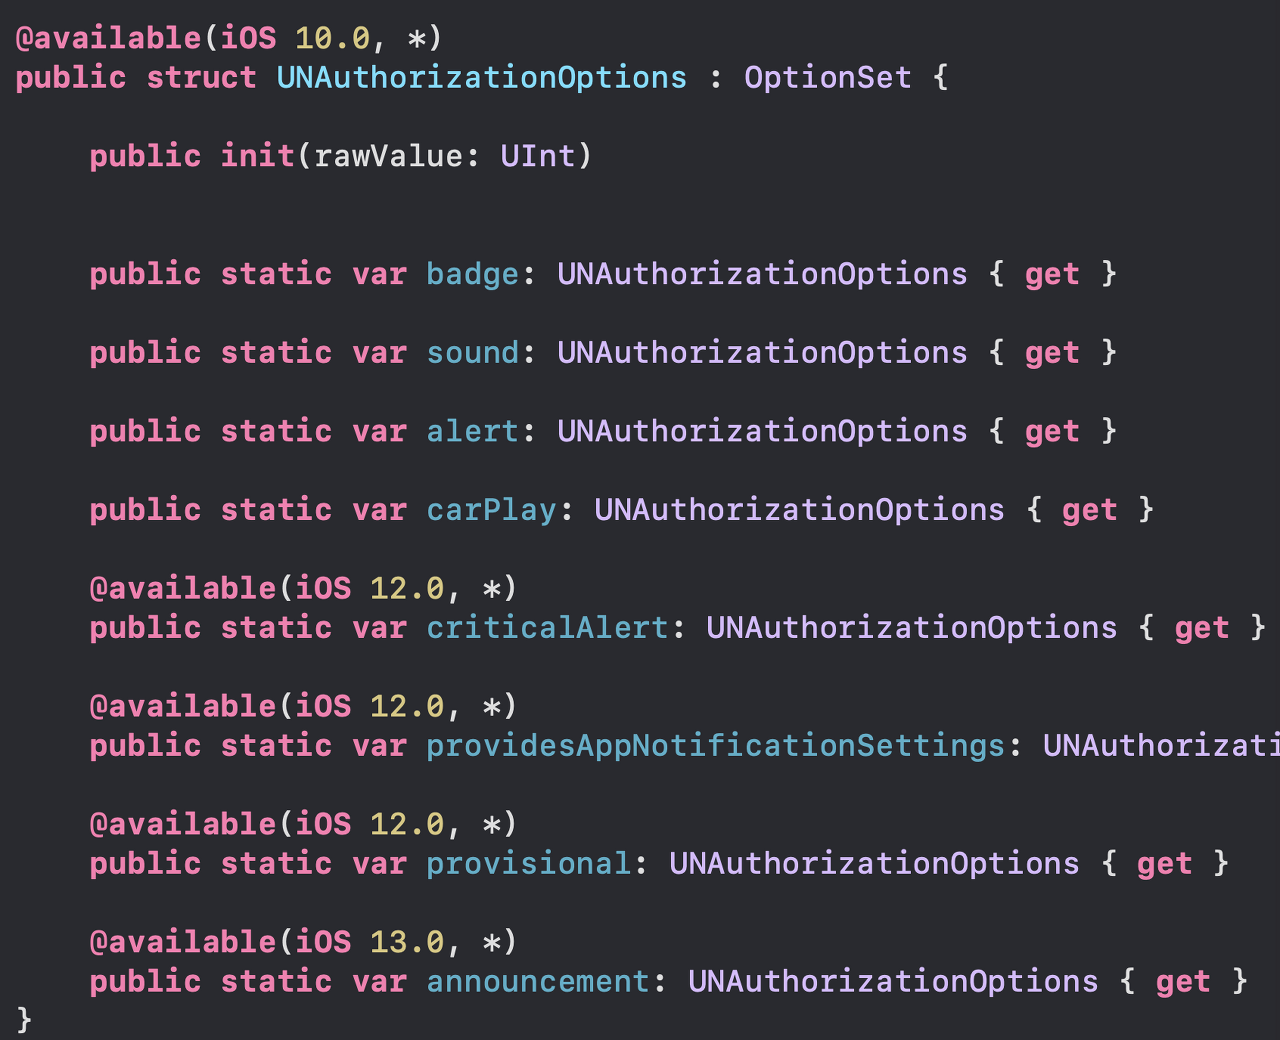
let authOptions: UNAuthorizationOptions = [.alert, .badge, .sound]
UNUserNotificationCenter.current().requestAuthorization(options: authOptions) { _, _ in }
application.registerForRemoteNotifications()
return true
}
Messaing의 delegate와 UNUserNotificationCenter의 delegate를 선언합니다.
그리고 인증 요청을 위한 UNAuthorizationOptions 타입의 options를 생성합니다.
기본적으로 alert, sound, badge를 많이 사용합니다.
(badge는 카톡에 숫자를 생각하시며 됩니다)
그리고 application.registerForRemoteNotifications() 메서도를 호출해 APNS 등록을 진행합니다.
didRegisterForRemoteNotificationsWithDeviceToken 메서드를 작성합니다.
func application(_ application: UIApplication, didRegisterForRemoteNotificationsWithDeviceToken deviceToken: Data) {
    let deviceTokenString = deviceToken.reduce("", {$0 + String(format: "%02X", $1)})
    print("[Log] deviceToken :", deviceTokenString)

    Messaging.messaging().apnsToken = deviceToken
  }
remoteNotifications를 등록하면 해당 메서드가 호출이 되는데 그 매개변수로 deviceToken을 가지고 있습니다.
실제로 deviceToken 값을 보고 싶다면 format을 바꿔서 봐야 합니다.
그리고 messaging의 apnsToken에 deviceToken을 넣습니다.
다음으로 UNUserNotificationCenterDelegate를 구현하겠습니다.
extension AppDelegate: UNUserNotificationCenterDelegate {
  func userNotificationCenter(_ center: UNUserNotificationCenter, willPresent notification: UNNotification, withCompletionHandler completionHandler: @escaping (UNNotificationPresentationOptions) -> Void) {
    completionHandler([.alert, .badge, .sound])
  }

  func userNotificationCenter(_ center: UNUserNotificationCenter, didReceive response: UNNotificationResponse, withCompletionHandler completionHandler: @escaping () -> Void) {
    completionHandler()
  }
}
willPresent는 앱이 포그라운드에 있을 때 호출되는 메서드입니다.
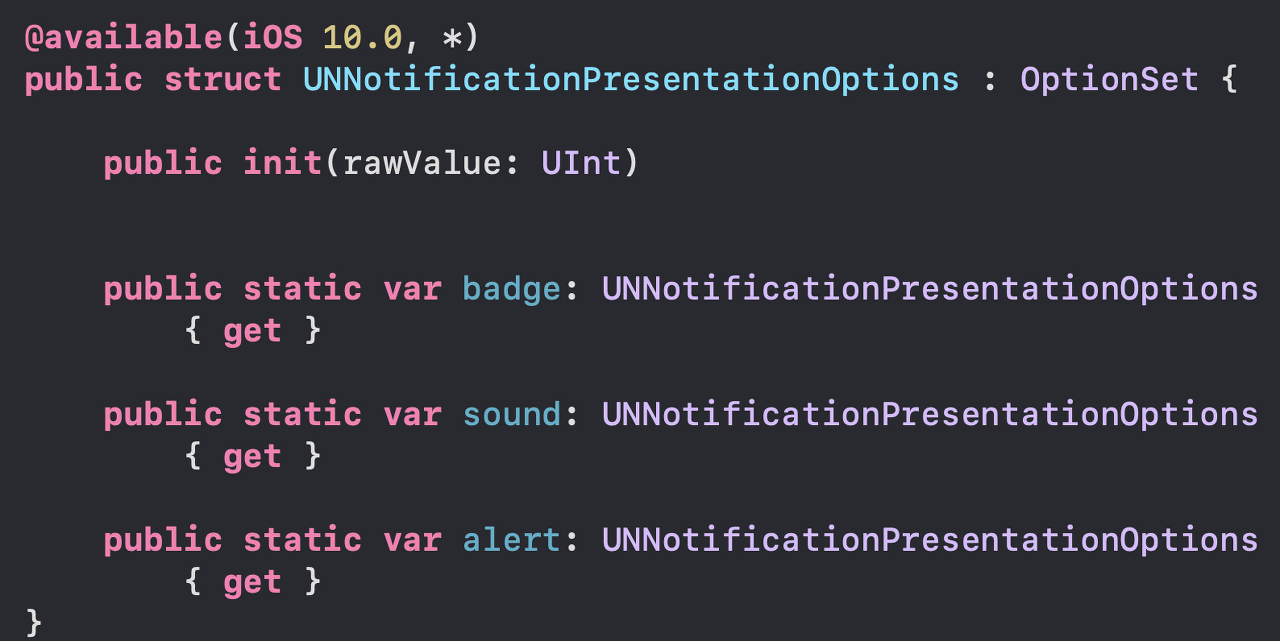
completionHandler로 UNNotificationPresentationOptions 타입을 반환합니다.
didReceive
Notification의 응답에 대한 처리를 해줄 수 있는 메서드입니다.
UNNotificationResponse 타입의 response를 매개변수로 받습니다.
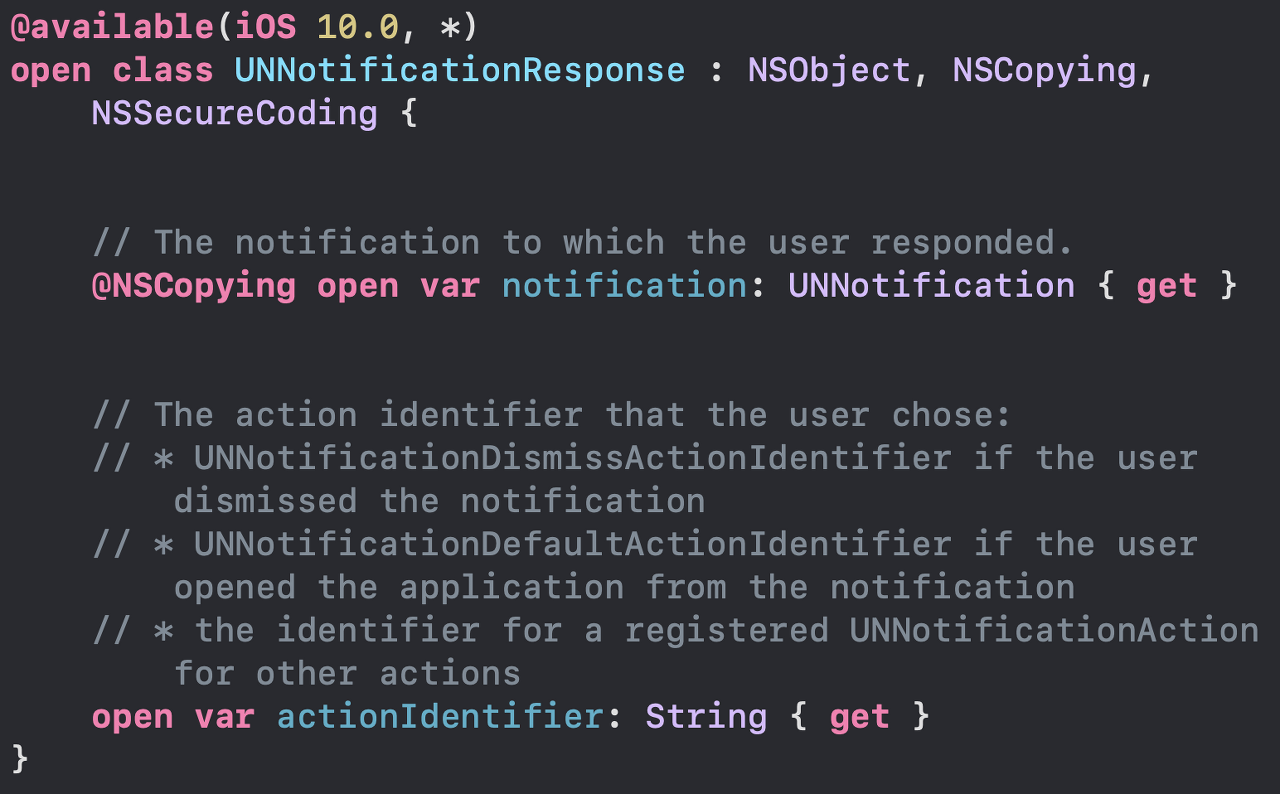
actionIdentifier default로
1. 사용자가 Notification을 종료했을 때
2. 사용자가 Notification 열었을 때 (클릭했을 때)
기본적으로 위 두 가지 동작을 처리할 수 있습니다.
MessagingDelegate
extension AppDelegate: MessagingDelegate {
  func messaging(_ messaging: Messaging, didReceiveRegistrationToken fcmToken: String) {
    let dataDict: [String: String] = ["token": fcmToken]

    NotificationCenter.default.post(name: Notification.Name("FCMToken"), object: nil, userInfo: dataDict)
  }

  func messaging(_ messaging: Messaging, didReceive remoteMessage: MessagingRemoteMessage) {
    print("[Log] didReceive :", messaging)
  }
}
ReceiveRegistrationToken을 파라미터로 가지는 Messaging 메서드입니다.
이 메서드는 토큰의 새로고침(갱신)을 모니터링합니다.
단, 토큰이 새롭게 생성되는 경우는 아래 3가지 경우입니다.
1. 새 기기에서 앱 복원
2. 사용자가 앱 삭제/재설치
3. 사용자가 앱 데이터 소거
최종본 코드
//
//  AppDelegate.swift
//  sample
//

import UIKit
import Firebase
import FirebaseMessaging
import UserNotifications

@UIApplicationMain
class AppDelegate: UIResponder, UIApplicationDelegate {

    var window: UIWindow?

    func application(_ application: UIApplication, didFinishLaunchingWithOptions launchOptions: [UIApplication.LaunchOptionsKey: Any]?) -> Bool {

        FirebaseApp.configure()

        Messaging.messaging().delegate = self
        UNUserNotificationCenter.current().delegate = self
        let authOptions: UNAuthorizationOptions = [.alert, .badge, .sound]

        UNUserNotificationCenter.current().requestAuthorization(options: authOptions,completionHandler: {_, _ in })
        application.registerForRemoteNotifications()
        return true
      }

    // MARK: UISceneSession Lifecycle

    func application(_ application: UIApplication, configurationForConnecting connectingSceneSession: UISceneSession, options: UIScene.ConnectionOptions) -> UISceneConfiguration {
        // Called when a new scene session is being created.
        // Use this method to select a configuration to create the new scene with.
        return UISceneConfiguration(name: "Default Configuration", sessionRole: connectingSceneSession.role)
    }

    func application(_ application: UIApplication, didDiscardSceneSessions sceneSessions: Set<UISceneSession>) {
        // Called when the user discards a scene session.
        // If any sessions were discarded while the application was not running, this will be called shortly after application:didFinishLaunchingWithOptions.
        // Use this method to release any resources that were specific to the discarded scenes, as they will not return.
    }

    func application(_ application: UIApplication, didRegisterForRemoteNotificationsWithDeviceToken deviceToken: Data) {
      let deviceTokenString = deviceToken.reduce("", {$0 + String(format: "%02X", $1)})
      print("[Log] deviceToken :", deviceTokenString)

      Messaging.messaging().apnsToken = deviceToken
    }
}

extension AppDelegate: UNUserNotificationCenterDelegate {
    func userNotificationCenter(_ center: UNUserNotificationCenter, willPresent notification: UNNotification, withCompletionHandler completionHandler: @escaping (UNNotificationPresentationOptions) -> Void) {
        completionHandler([.alert, .badge, .sound])
    }

    func userNotificationCenter(_ center: UNUserNotificationCenter, didReceive response: UNNotificationResponse, withCompletionHandler completionHandler: @escaping () -> Void) {
        completionHandler()
    }
}

extension AppDelegate: MessagingDelegate {
    func messaging(_ messaging: Messaging, didReceiveRegistrationToken fcmToken: String?) {
    let dataDict: [String: String] = ["token": fcmToken ?? ""]

    NotificationCenter.default.post(name: Notification.Name("FCMToken"), object: nil, userInfo: dataDict)
    }

    func messaging(_ messaging: Messaging, didReceive remoteMessage: MessagingDelegate) {
        print("[Log] didReceive :", messaging)
    }
}
여기까지 하셨다면 코드 구현을 끝났습니다.
Firebase 콘솔로 이동하여 알림을 보내보겠습니다.
5. Firebase message 전송
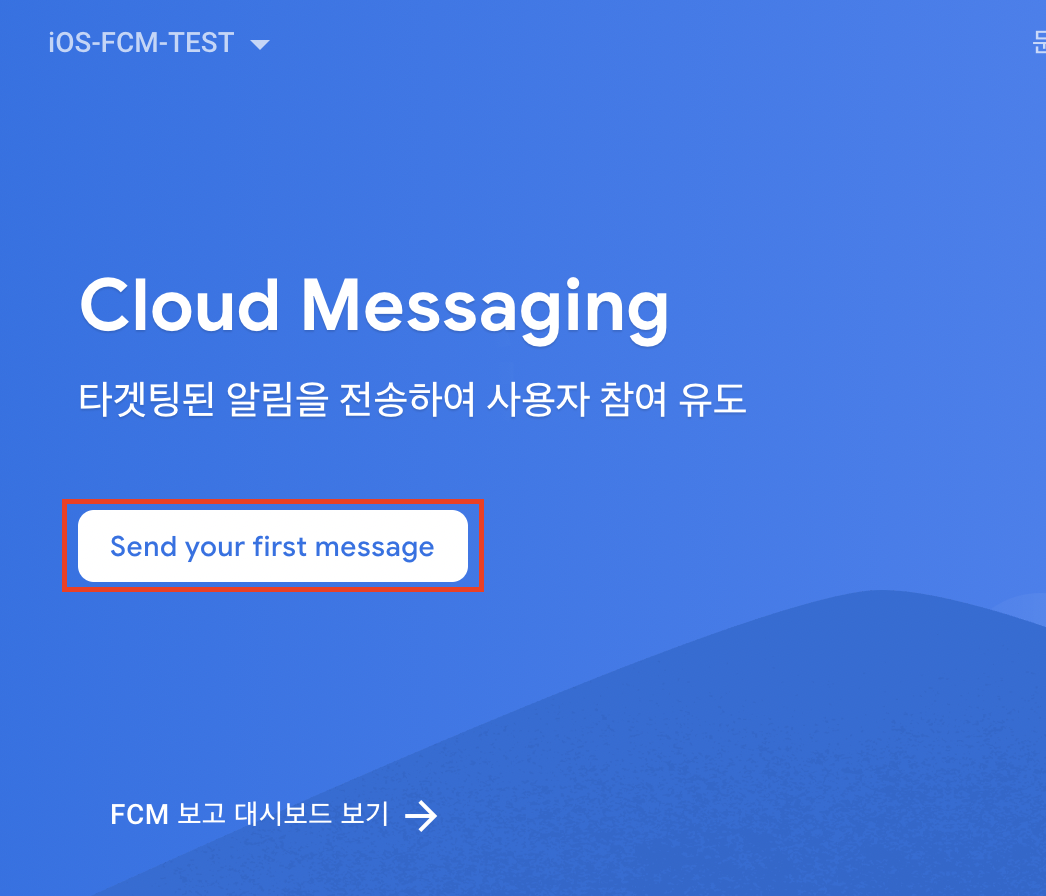
Firebase console > Cloud messaging > Send your first message 클릭합니다.
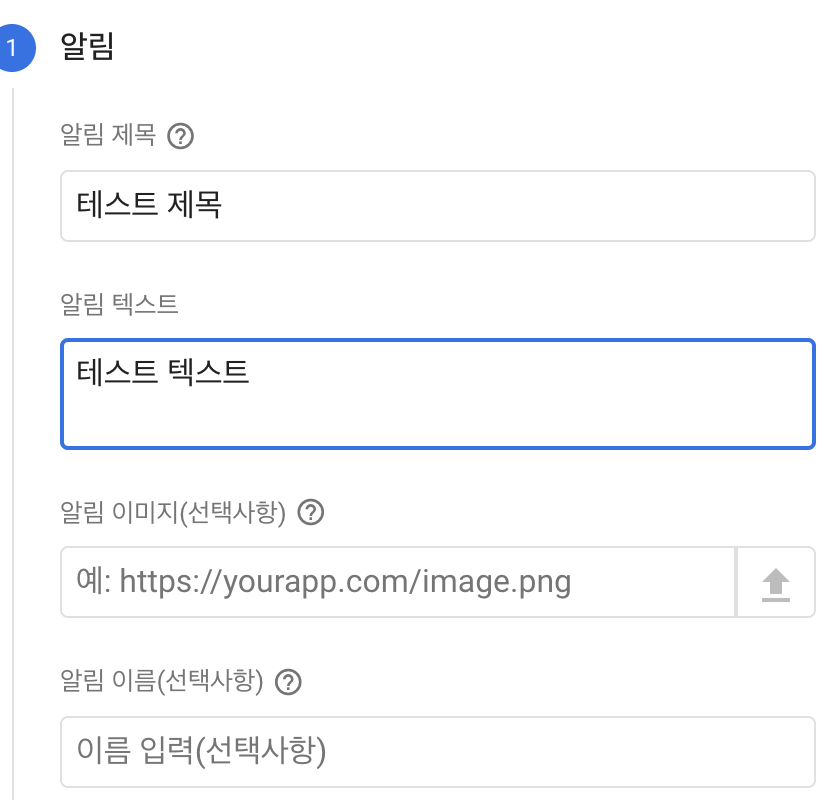
1. 알림 제목, 알림 텍스트를 입력합니다. 전부 입력하였다면 다음을 클릭
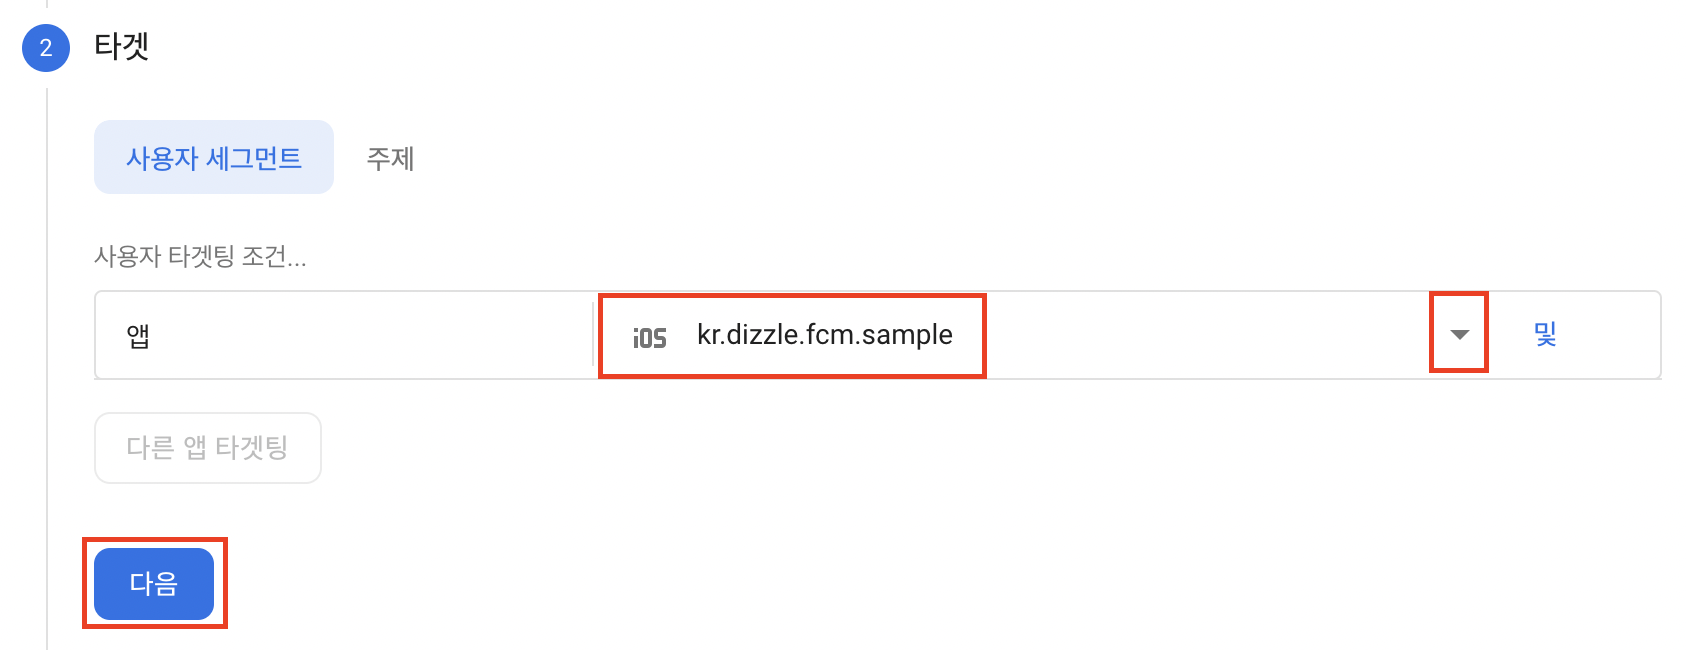
2. 화살표를 눌러 앱을 선택 > 앱 선택 후 다음 클릭
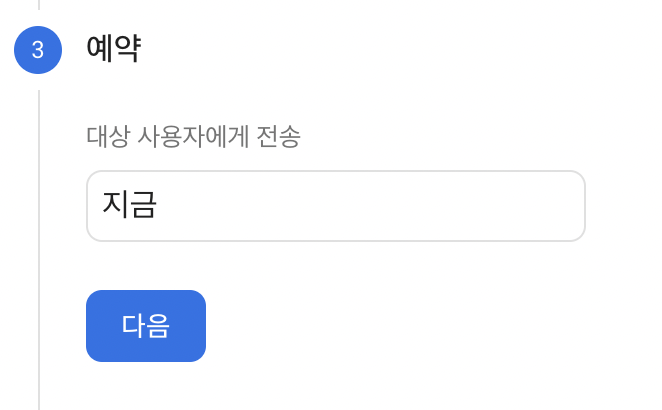
3. 시간 선택후 다음
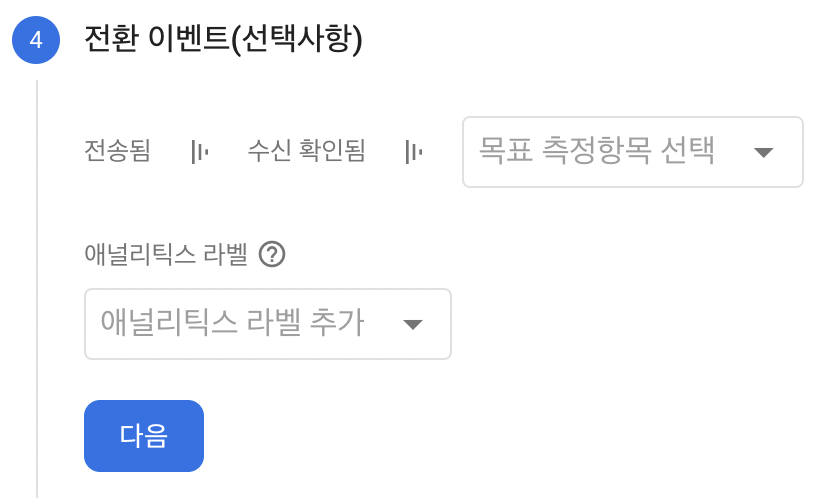
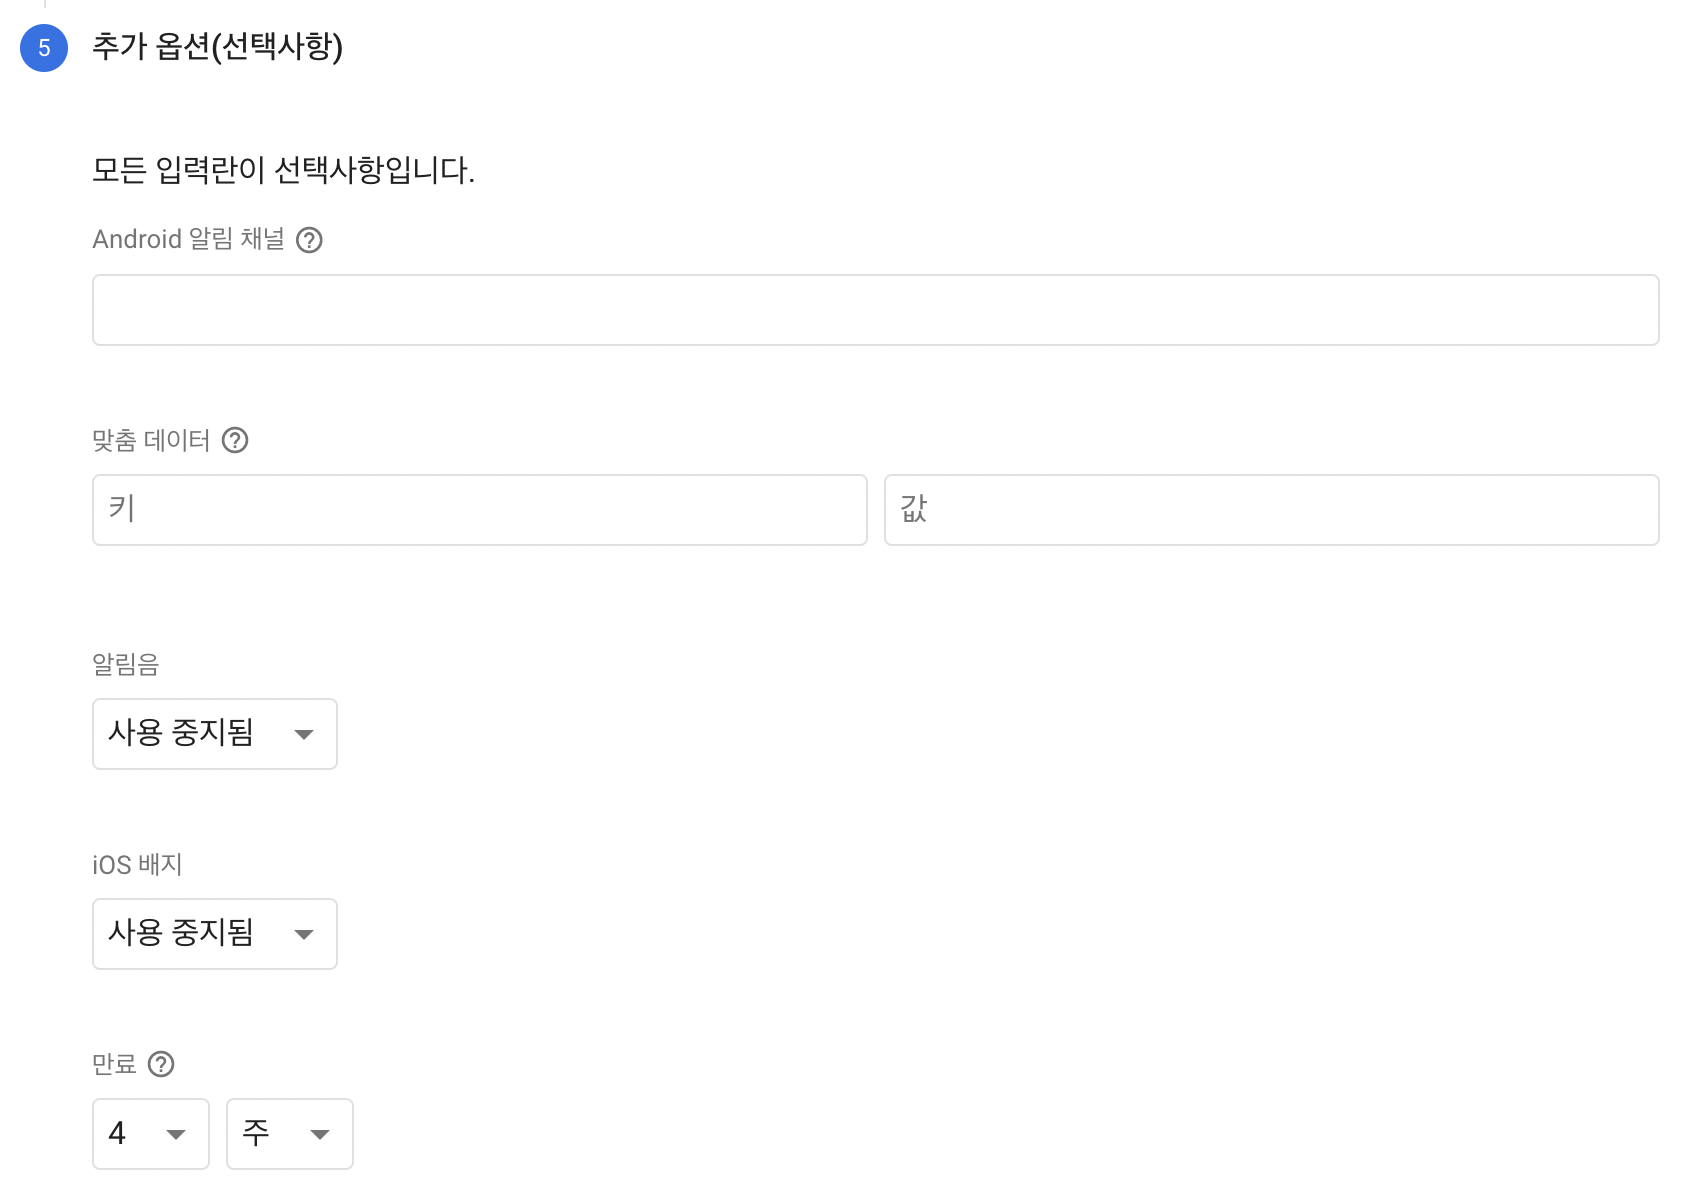
4. 다음 선택
5. 검토 선택
6. 게시 선택
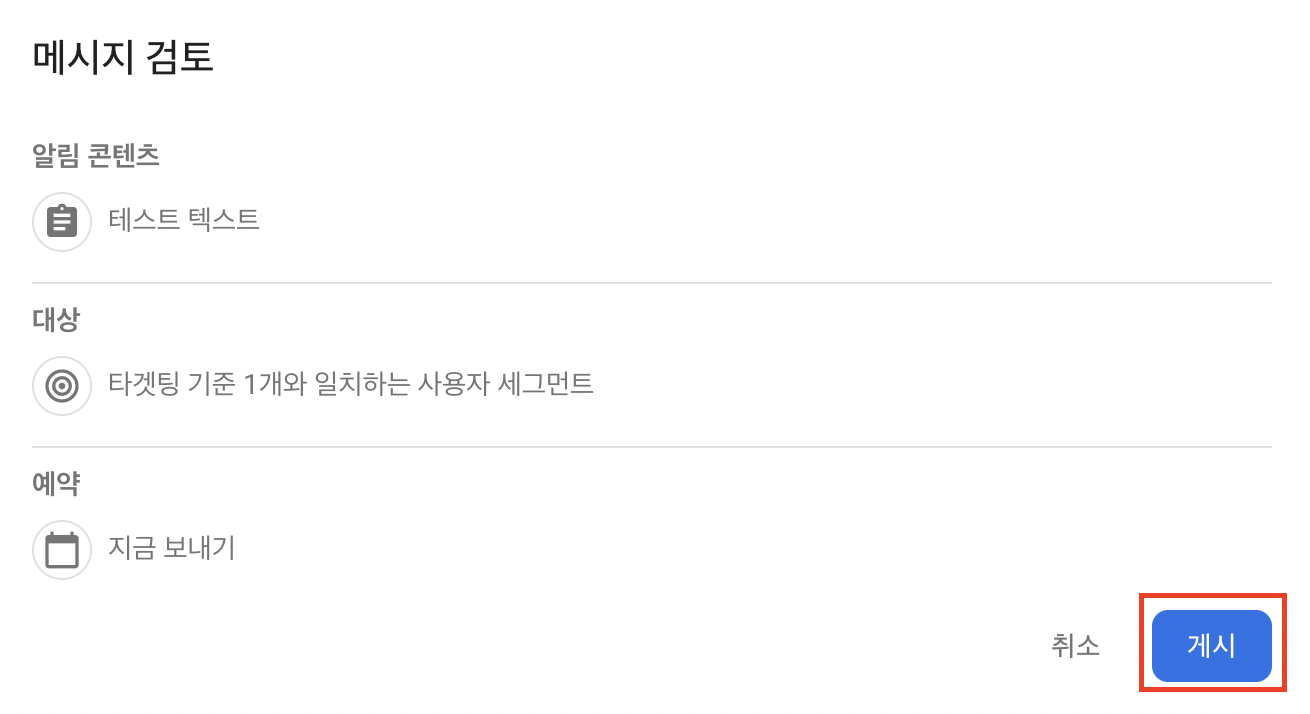
7. 알림 전송 완료
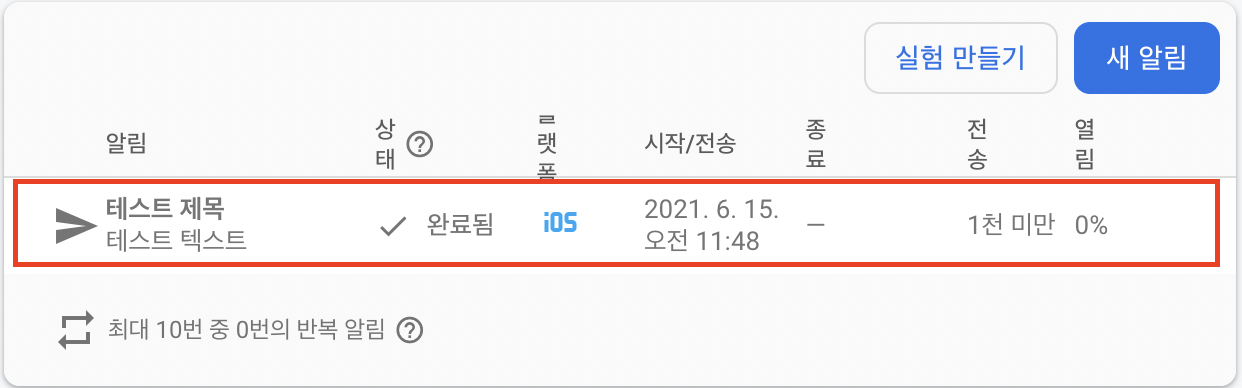
알림 전송 테스트는 실기(iphone 단말기)에서 확인 부탁드립니다.
시뮬레이터에서 확인했을 때 확인이 불가했습니다.
알람을 전송받고 앱을 실행해도 알람이 사라지지 않습니다.
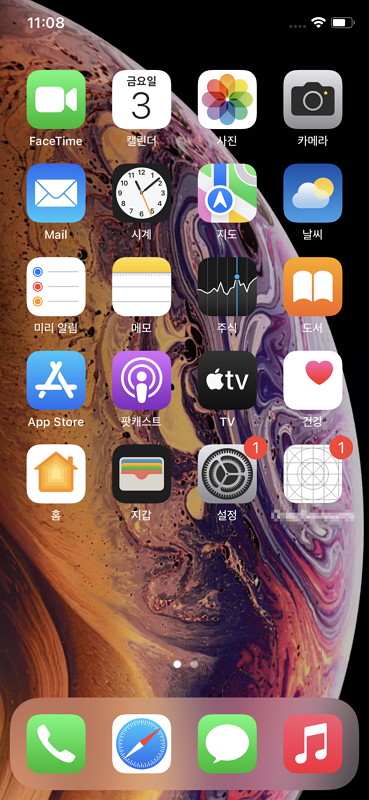
badge 카운트를 지우고 싶다면 SceneDelegate에 아래 코드를 추가해야 합니다.
UIApplication.shared.applicationIconBadgeNumber = 0
완성본
func sceneDidBecomeAction(_ scene: UIScene) {
    UIApplication.shared.applicationIconBadgeNumber = 0
}'iOS > swift' 카테고리의 다른 글
| 12. [iOS/Swift] XCode 와 Github 연동하기 (0) | 2021.06.23 |
|---|---|
| 11. [iOS/Swift] 앱 사용자에게 업데이트 알람 표시하기 - Siren 라이브러리 (0) | 2021.06.18 |
| 09. [iOS/Swift] CocoaPosds 삭제하고 재설치 하기 (0) | 2021.06.14 |
| 08. [iOS/Swift] M1 MacBook에서 Pod install 시 에러가 발생하는 경우 (0) | 2021.06.10 |
| 07. [iOS/Swift] CocoaPods과 Pod install 방법 (0) | 2021.06.10 |